Welcome to the March Craft Along where this month we are going to look at cross stitch and I will be showing you how to create some lovely easter cards.
I never really got cross stitch, my Aunt and my older sister both used to love doing these large old fashioned designs that once completed they framed and hung in their houses.
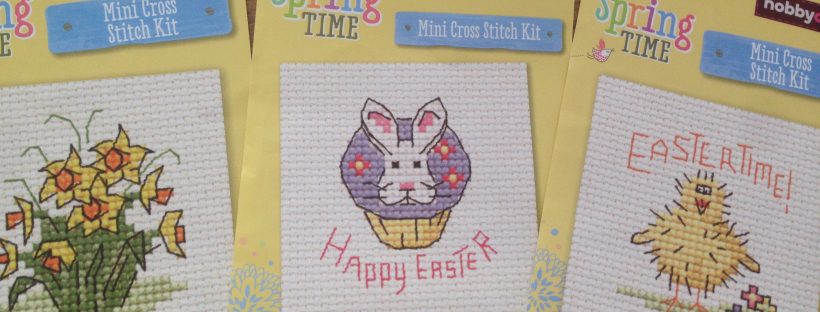
Then one day I bought some tiny cross stitch kits from Hobbycraft. They were christmas themed ones and I was hooked.
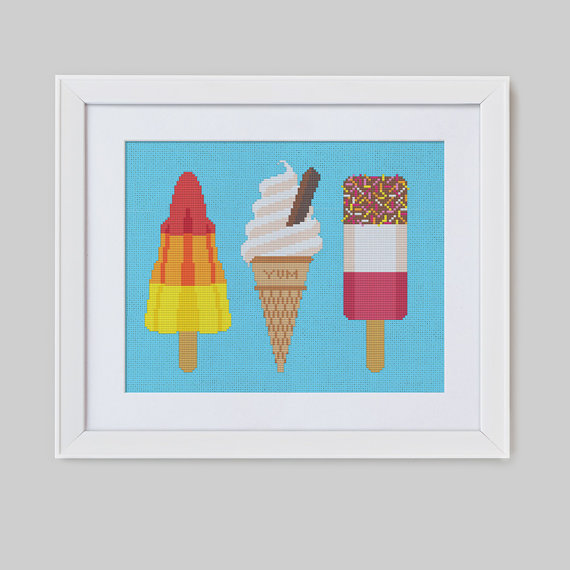
Cross stitch has come a long way since the old victorian dolls houses or christmas scenes, and modern cross stitch is easy to get your hands on. It even looks brilliant as art work in your home.
Easter is just around the corner and I have a couple of family members who send easter cards so this year I am sending them a handmade one back.
I picked up these patterns from Hobbycraft last year but they are good sellers and can still be found online and in store if you want to buy the kit.


Once you have picked your design we can get started.
What you will need;
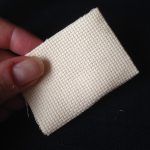
Cross stitch fabric
Cross stitch needle
Hoop (you can do these small designs without one but if you do something bigger then a hoop is advisable)
Embroidery threads (you can buy a reem for around 90p from shops or markets)
Pieces of card or ready made cross stitch cards
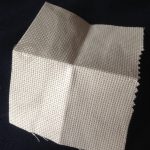
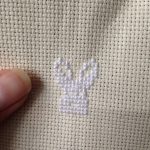
Always start in the middle
It doesn’t matter which cross stitch pattern you buy or download they will always tell you to start in the middle and work from their. So take you piece of cross stitch fabric and fold it in four to create a centre.
The centre of your pattern will be marked, usually with a large cross in a circle.

This is the colour you will start with.
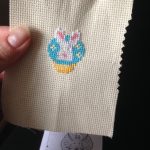
A Colour at a time
I know that each person needs to find their own way of working. But on a small piece of work like these I like to complete a colour in one go. It can mean a lot of counting squares and making sure things are in the right place, but it feels like the work is easier and more fluid this way.
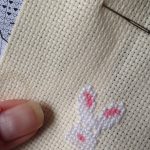
Cross left or Right
When you begin you will create all the first line of your crosses in one direction before going back on yourself to complete the cross stitch. Or in Hobbycrafts words;
“Make sure you always sew the cross stitches so that the top stitch always slopes the same way…”

Attaching to your card
If you have bought some of the ready made cards to insert your cross stitch then all you need to do is secure your work in place with glue or tape.

Alternatively you could buy some A4 or A5 card and pretty scrap book paper and follow the easy steps below;
- Fold your card in half
- Cut around the cross stitch work removing any access fabric
- Glue the cross stitch to the front of the card
- Using pretty paper create a boarder for the work and glue it over the top of the cross stitch leaving a window to see the work.
- Allow to dry
