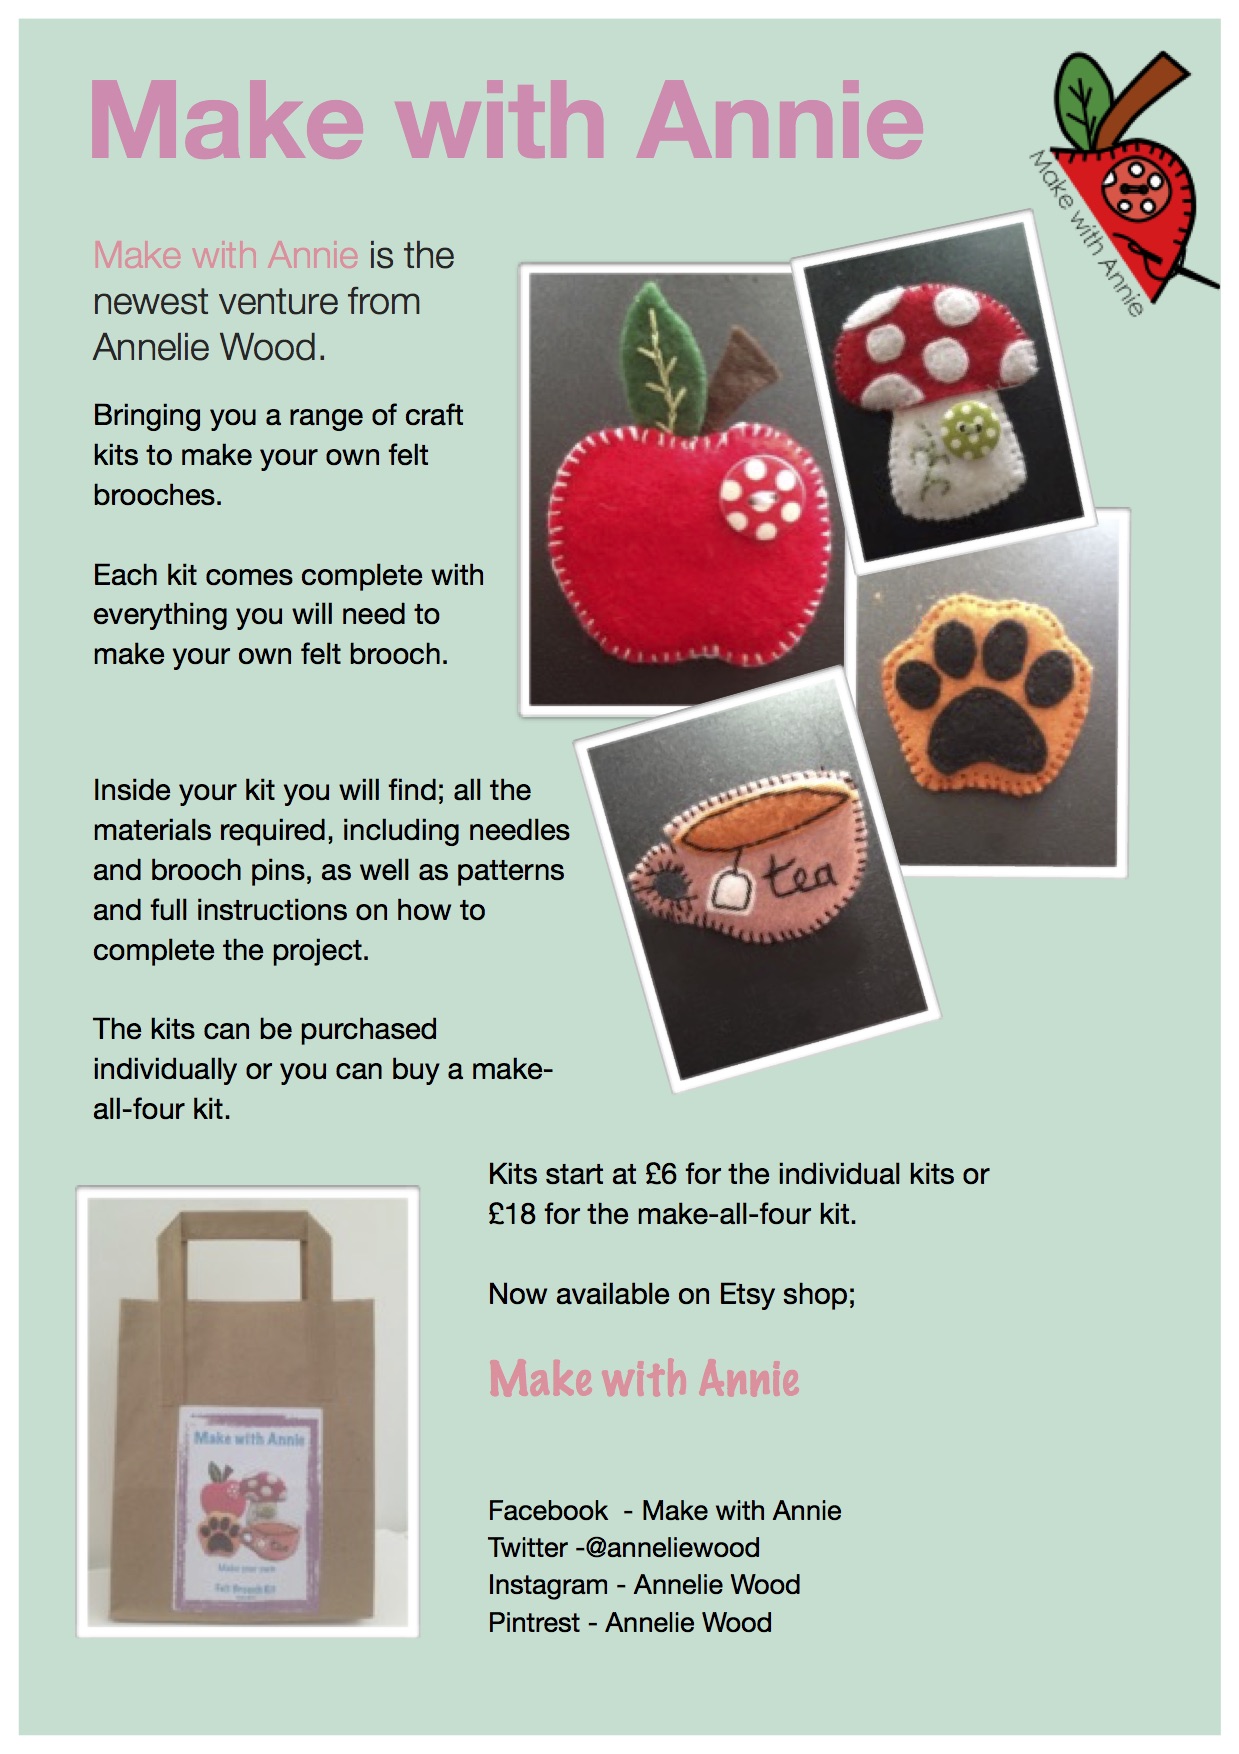
How to create a logo for your small business
When I first looked at using a piece of graphics software to create a logo I was filled with that feeling of not having any form of a clue what I was doing. I am not a graphic designer, and I do not have the ability to draw. But with a little patience (mostly from my wonderful other half) I managed to create the logo for my craft business.

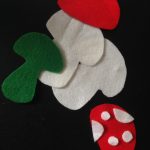
Make with Annie’s logo
I want to share with you how I did it and in the process guide you through how to create your very own simple logo.
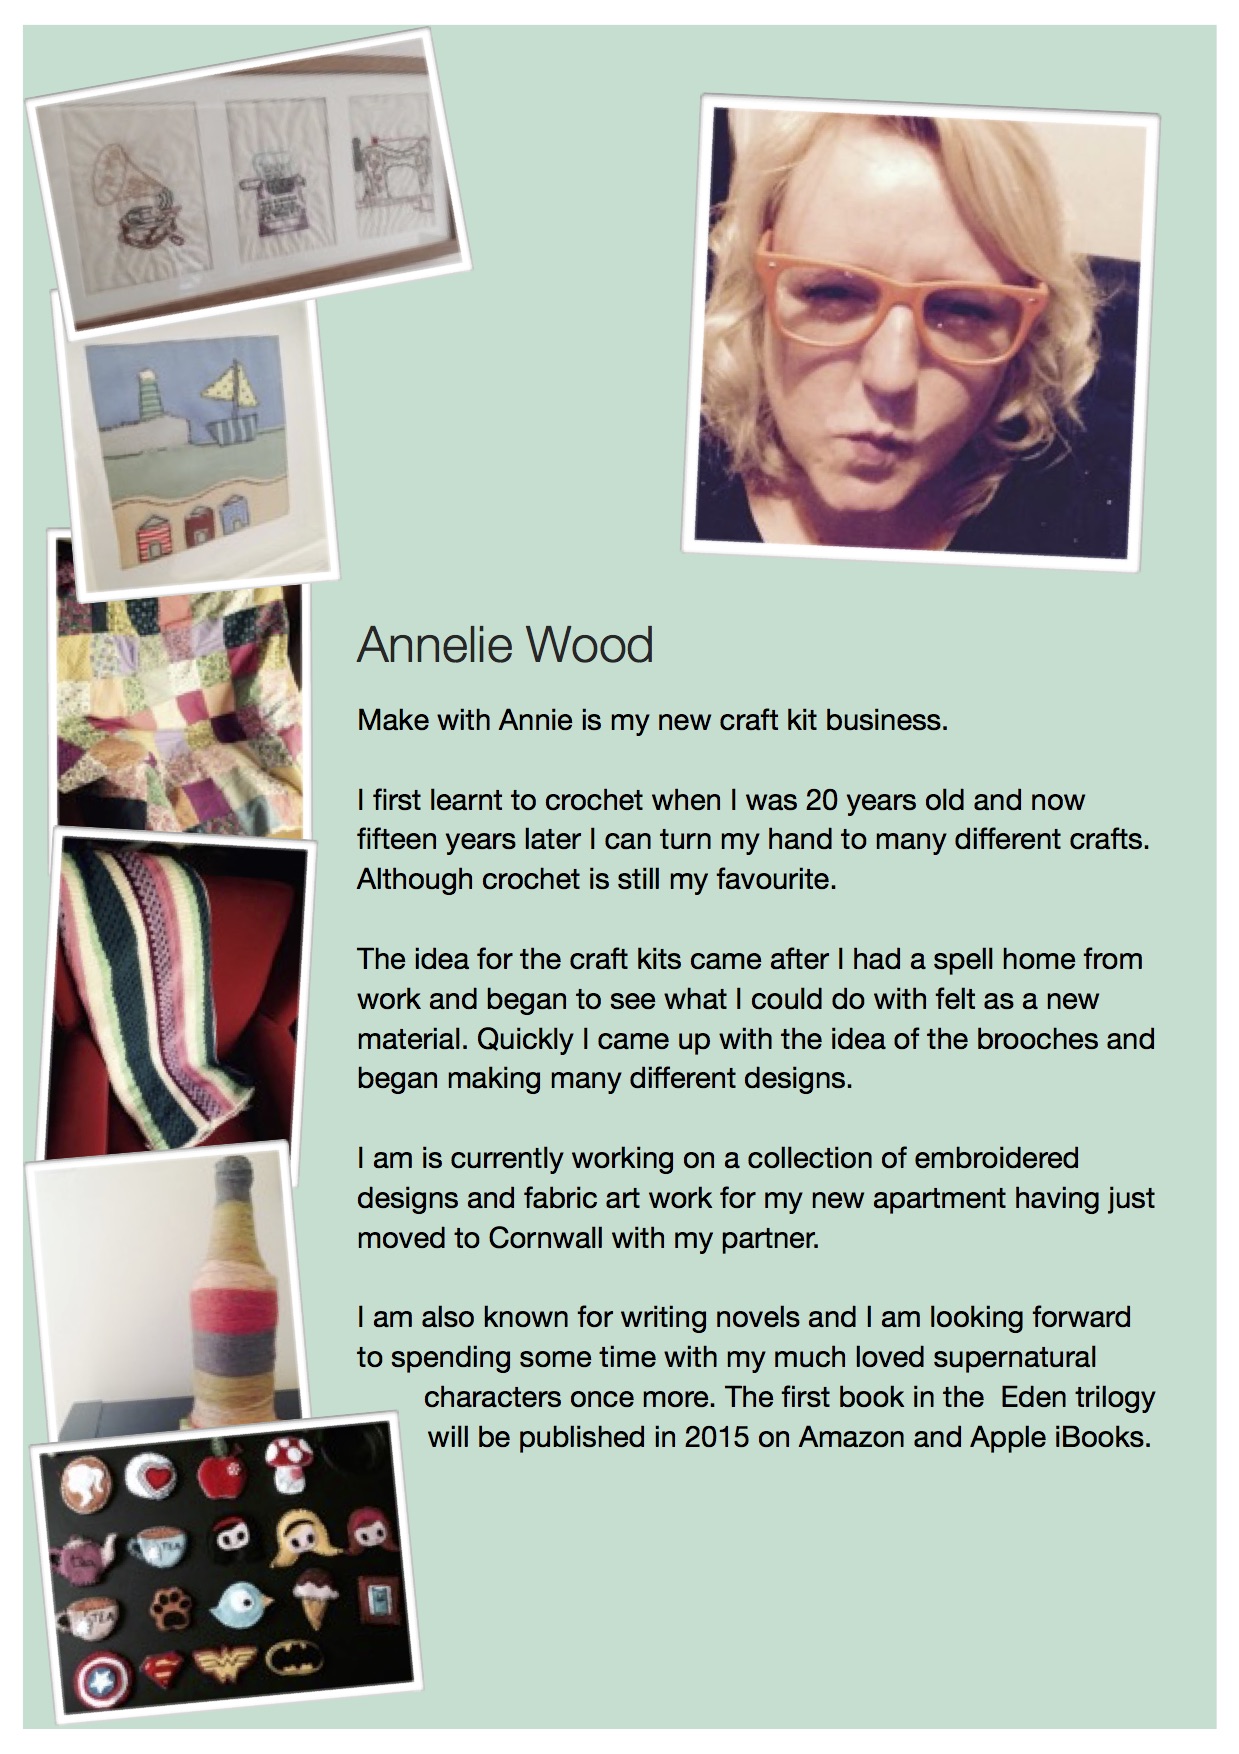
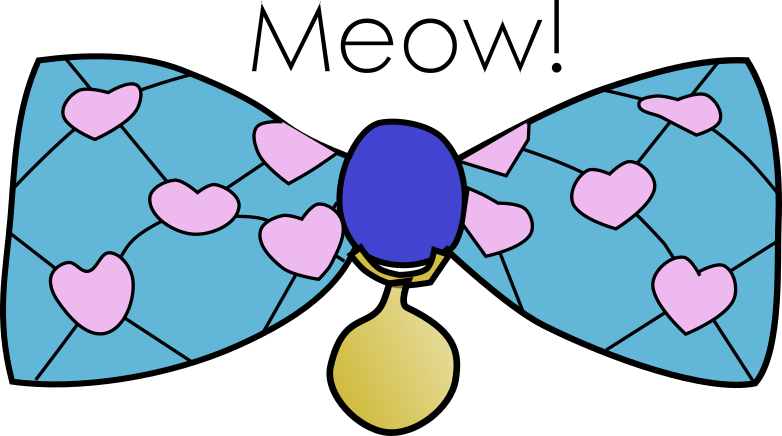
For the purposes of this article my cat Buster has created a brand new craft business called Meow! Where he is selling bowties for cats and dogs.

Buster: CEO at Meow!
In order to create a logo that looks professional you will need to be able to use an easy and free graphics package such as
Inkscape. Although initially to the untrained this looks really complicated I am going to show you how to you use it.
Firstly make sure that you download the correct version for the computer you are using, I have a mac book so I downloaded the MacOS version. Then follow their instructions until the package is downloaded onto your computer.
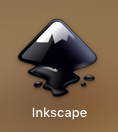
Inkscape logo
Once download is complete you can open up inkscape and you will be shown your first blank project. The first thing I do now is to name my project, so I shall ‘save as’ the file and call it Meow logo and click save.

A blank workbook in Inkscape
On the right of the screen you will see a tab which says Layers, click on this. Layers enables you to import a photo, or a picture and create a virtual layer over the top that you can draw on, a bit like tracing paper, and then when you are done with your drawing you can export only the new drawing and leave the old picture behind.
So you are going to add another layer by clicking on the plus sign.
You can at any time rename the layers as you would rename a file by double clicking on the words Layer 1.
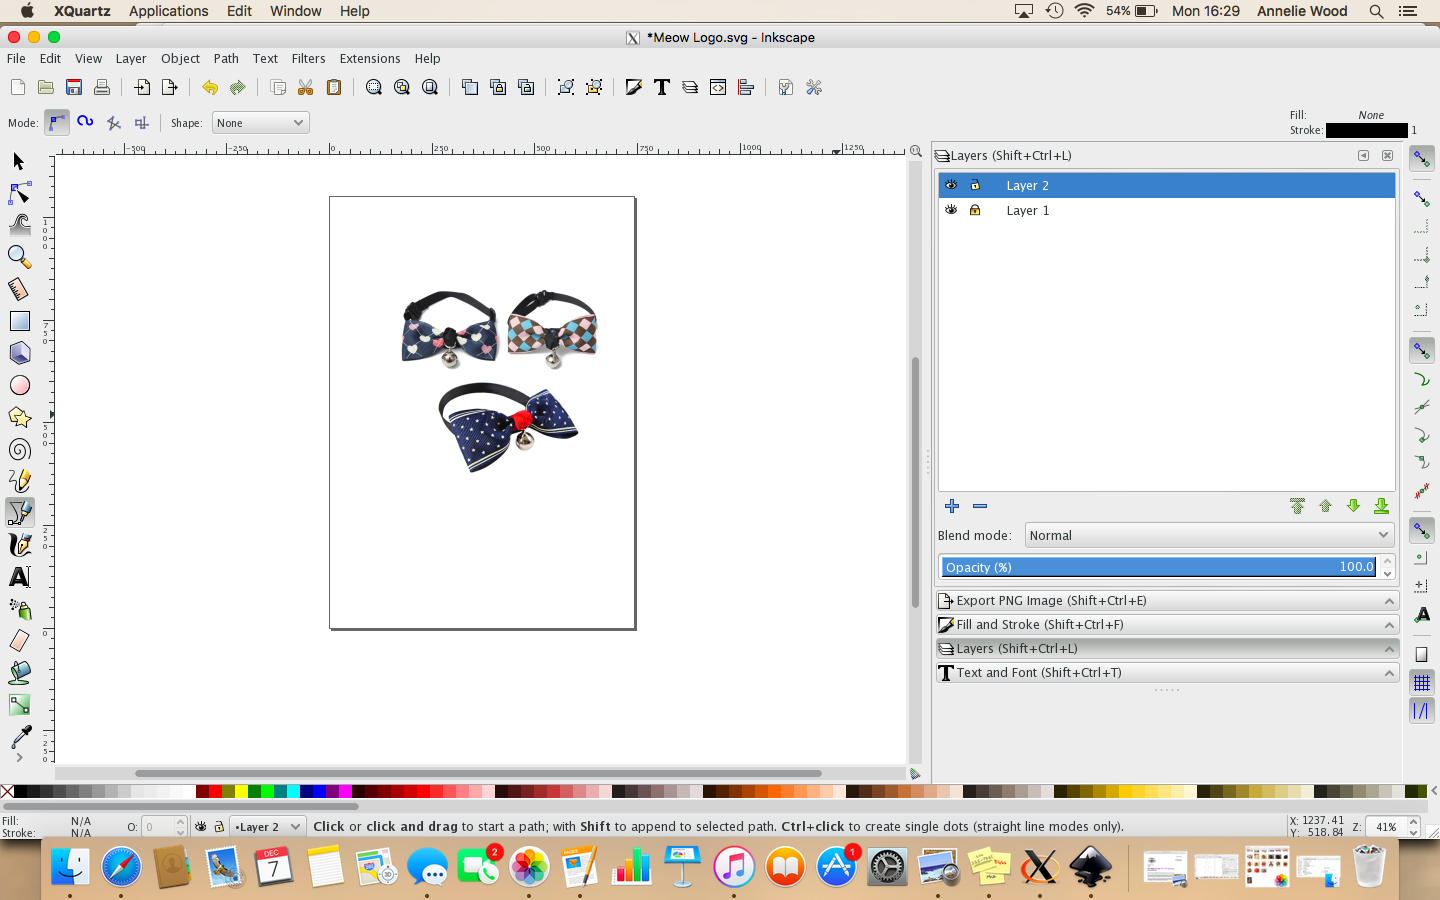
Now its time to think about what image you want to use to create your logo. Buster the cat thinks that his logo should be of a bowtie, as that is what he is making. So you can either take a picture of one of your bow ties or you can take a drawing of a bow tie and scan it into your computer. For Meow! we are going to take one of Busters photos of the bowties and use that to create the logo.
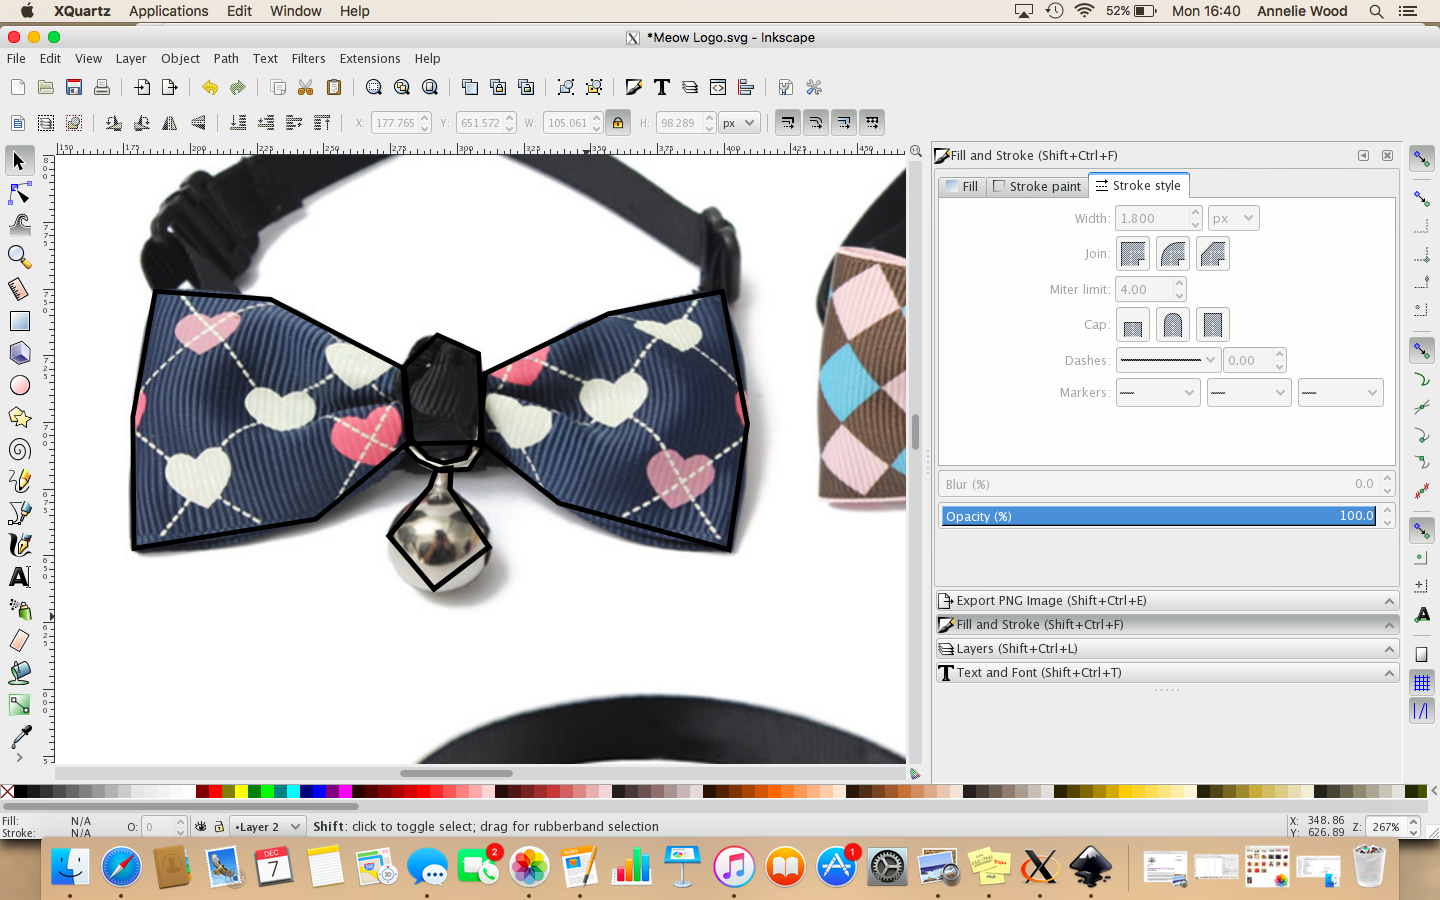
Once your picture is saved into your computer you are ready to import it into inkscape. You must ensure that you are still in the first layer so just click onto Layer 1 and then click on File and then Import and then you will be asked to select your file. Once you have selected your picture double click on it and respond with Ok to the dialogue box that will appear.
Your image will appear on your inkscape page. The page you can see on inkscape is A4 sized which can help to scale your work. But for now your just looking at your picture. You will that there are lots of arrows around the image which you can use to re size it, however ensure that you lock the image before you do this by clicking on the lock symbol in the tool bar. Otherwise your image may change shape. Often when importing things into Inkscape they are imported very large and you might want to make them a little smaller to get your scale right.
Your original image imported into Inkscape
To Draw over the top of your picture and create the professional look you are after you need to click onto Layer 2 and lock Layer 1 with by clicking on the padlock next to the words in the layers tab on the right.
Now your in Layer 2 you can use the tools on the left to drawer over the top and create an entirely new picture.
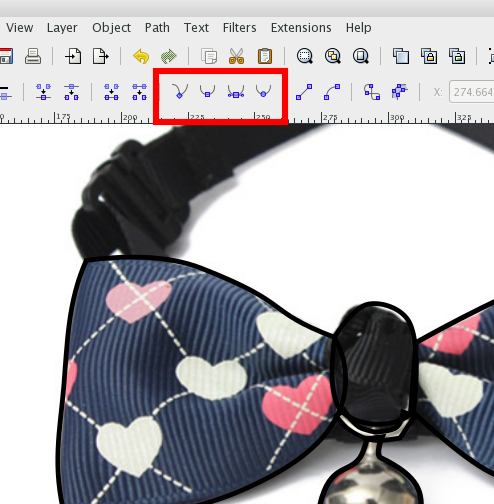
To make this logo I am going to draw over the top of one of the facing bowties, and to do this I shall use the tool which comes up with “Draw Bezier curves and straight lines” when you hover over it. It looks like a fine nib pen drawing a curve with a straight line at the top.
What this tool does is allow you to create a group of straight lines with points in between, so you click on your picture where you wish to start and then click again where you want the curve to be and then again at the next curve and so on until you have traced around the whole picture. Once you meet your first click the sequence is complete. Try it and play around until you find your feet with this.
What you end up with looks something like this;
Drawing over the original image in Inkscape
You can see in the screen shot about the zoomed in image with dark black lines. These are the lines I have drawn. If you click onto the Edit button (the second icon down on the left) you and then click onto the lines you will see a selection of little boxes appear at the points of the lines. This gives you the opportunity to curve the lines using the tools at the top of the picture.
Making your lines fit, using curves
Once you have smoothed your edges you can turn off Layer 1 by clicking on the eye next to it. This now means that you can no longer see the original picture and you can work on your new project.
Now you have your bow tie image, and you can see it without the original picture you can play with it to make it look how you want to. So play around with Inkscape and see what you can do.
Once your pleased with the image, you can add colour and design to it.
To use colour you are going to start using the Fill and Stroke tab on the right hand side. Click on the lines of the space you want to fill and then in this tab select the fill colour, the stroke colour, the thickness of your stoke much more. Play around with this until you have the pattern you want. This part takes some time so don’t rush it.
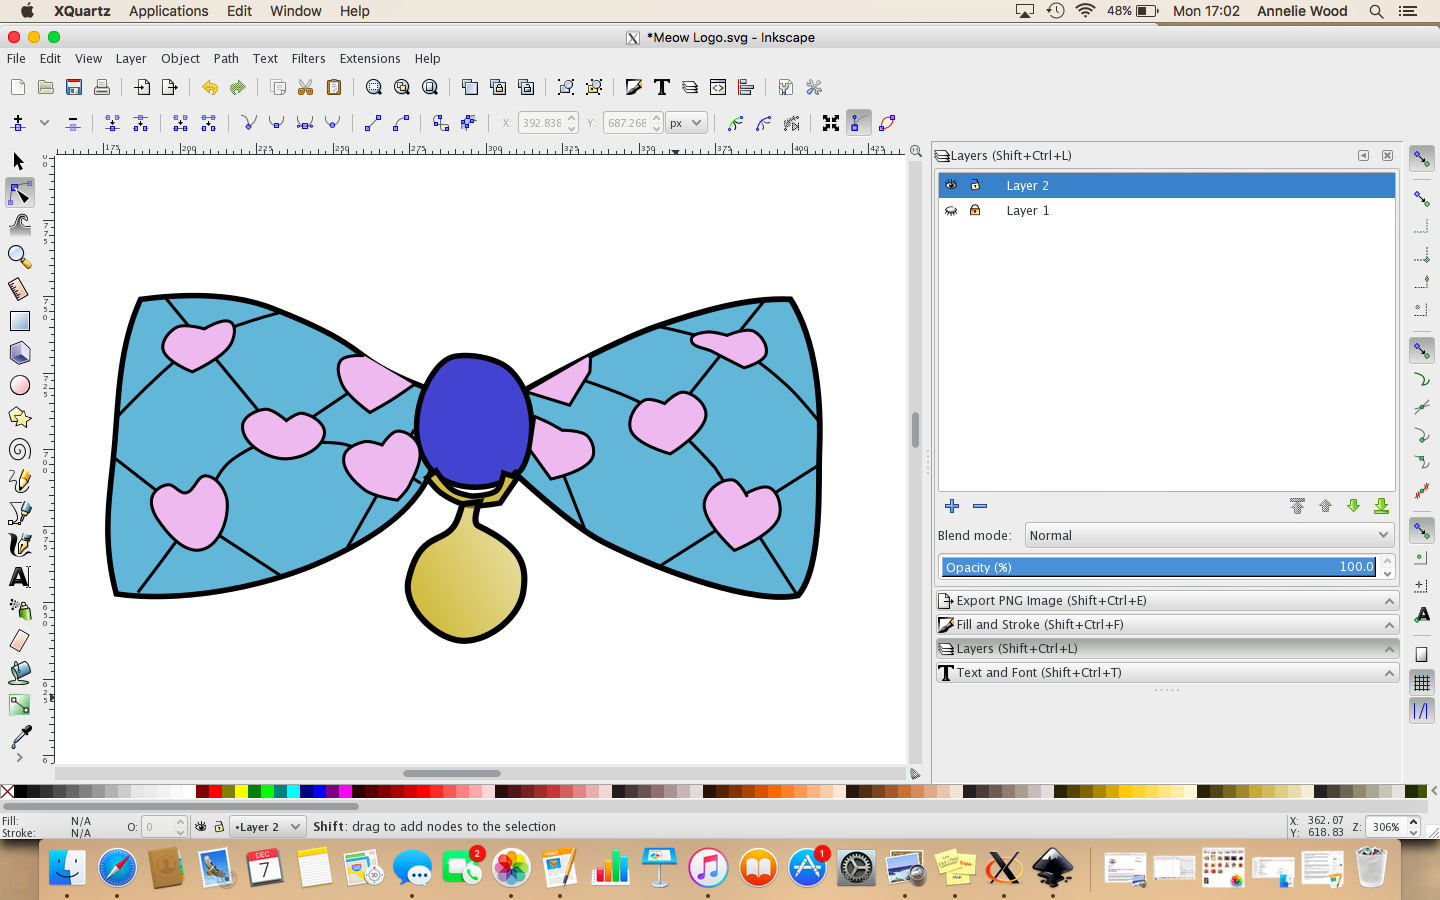
Colouring in and making patterns on your image
Ta Da!
The next thing you need to do is to add your business name to the logo.
In the left hand tool column you will find a text tool. It’s a Capital A with a line. Click on the tool and then draw a text box onto your work page. Then type in the name of your business. You can then click on the Text and Font tab on the right and select a font type and size and in the Fill tab the colour. Once you are happy with your text you can click onto the dark black cursor tool (top of the left hand tool bar) and you can select your text and move it about to wherever you want it.
Once its in place you are done. Your logo is complete and now its time to export it as a .png file which will enable you to upload it to your Facebook page, twitter use it on merchandise and business cards and much more.
To export you need to click File and Export, this will open the export tab on the right hand side. You then need to select all the object you wish to export. So click your mouse and drag your cursor across your design and the words and release your mouse. You will then see dotted select lines appear across your selected items.
On the right hand tab Export will have appeared and you need to click onto the ‘Export As’ button. This enables you to give your work a file name. And once you have click Save. If you add ‘.png’ at the end of the file name it ensures that all other software will recognise the download as a png file. Once you have done this you click on the export button and your work will be exported into a file on your computer.
Your Logo is complete and ready for use.
And Buster the Cat can carry on promoting his bowtie craft business.