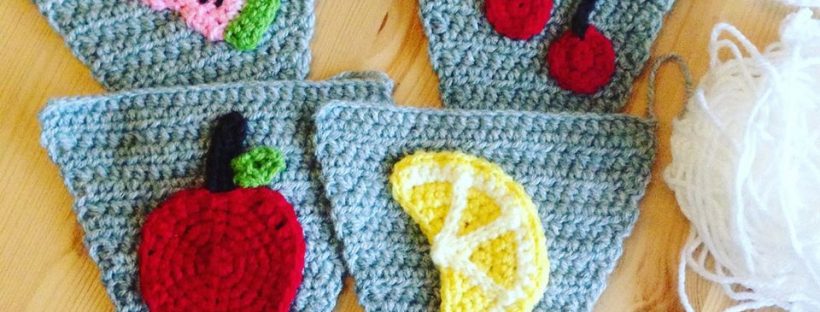
The 7 Benefits of Learning to Crochet

Did you know that there are some amazing benefits of crochet?

According to allfreecrochet.com there are 7 benefits of being able to crochet.

1) Crochet helps with Insomnia; the repetitive rhythm is so soothing that it helps calm the mind making you sleep ready

2) Crochet reduces stress and anxiety; taking some time for yourself each day to be creative and take your mind off those things that cause your stress

3) Crochet eases depression; going something you like releases a chemical called dopamine, this effects our emotions and can help make us feel better

4) Crochet reduces the risk of Alzheimers; yes, this is true and it can help reduce it by up to 50%

5) Crochet builds self esteem; the achievement in overcoming a challenge and making something becautiful makes us feel proud of ourselves

6) Crochet classes and clubs are like group therapy; we know this so well and have an amazing weekly craft club where we talk about everything under the sun, whilst working on projects and learning new skills. For more information on our Craft Club head to the website. 

7) Crochet gives you control; You pick the yarn, the hooks, the patterns the design. You make the things you love to make

To read the full article including links to youtube videos on crochet and stress head to the allfreecrochet.com website

Learn to Crochet

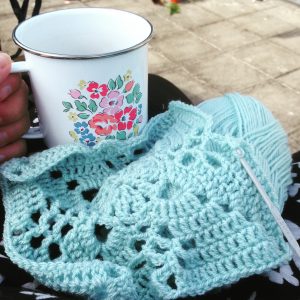
Join Crochet teacher Annie in one of her 3 week Crochet course at The Craft Collective

Workshop dates

Tuesday 7th May 6pm
Thursday 6th June 6pm
Tuesday 23rd July 6pm

Marketing Your Product

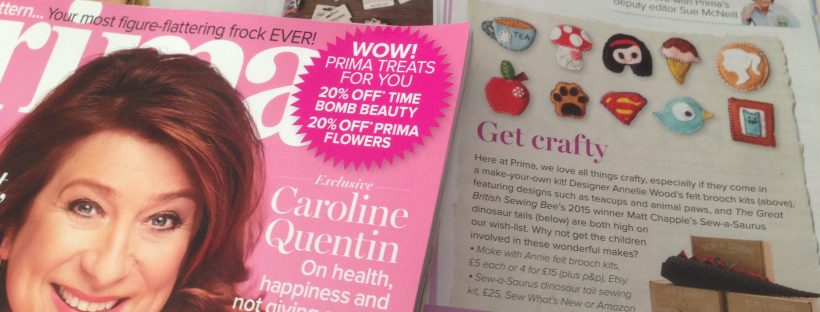
This week Make with Annie was featured in Prima Magazine. Prima Magazine is a national publication which has a readership of around 263,893 (this is taken from the sales for the first half of 2014). Which means that my product has now reached a quarter of a million people and that is more than I would ever reach through social media at this point in my business.
Prima 2

The Feature is seen on page 139 of the February 2016t issue


As you can imagine I am overjoyed with the feature and even after only a few days I have made four sales and gained hundreds of views, and new follows on my Etsy shop and Facebook page.
You may be wondering how I managed to get my products featured in such a well known magazine, and I am going to show you just how I did it.
IMG_4767

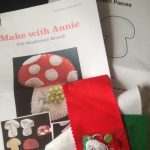
Make with Annie Felt Brooch Craft Kit


Back in September 2015 I started my craft business Make with Annie, creating felt brooch kits for young and old alike to make their own brooches and have fun too. I love crafting and I thought how great would a kit be for others to have a go at making felt brooches. Once I had created my kits, and worked on my packaging I set up my etsy shop and social media pages and then I sat down and created a press release.
It was the first time I had ever attempted such a thing, so I googled it and one of the key things I found on all the different sites was this;

  • Who are you
  • What are you doing
  • Why should they be interested
  • When are you doing it
  • Where can they find more information

These are really basic but you can find lots more on the different sites which I will add at the end of the article.
Once you start thinking about the answers to these questions you are starting to build your press release.
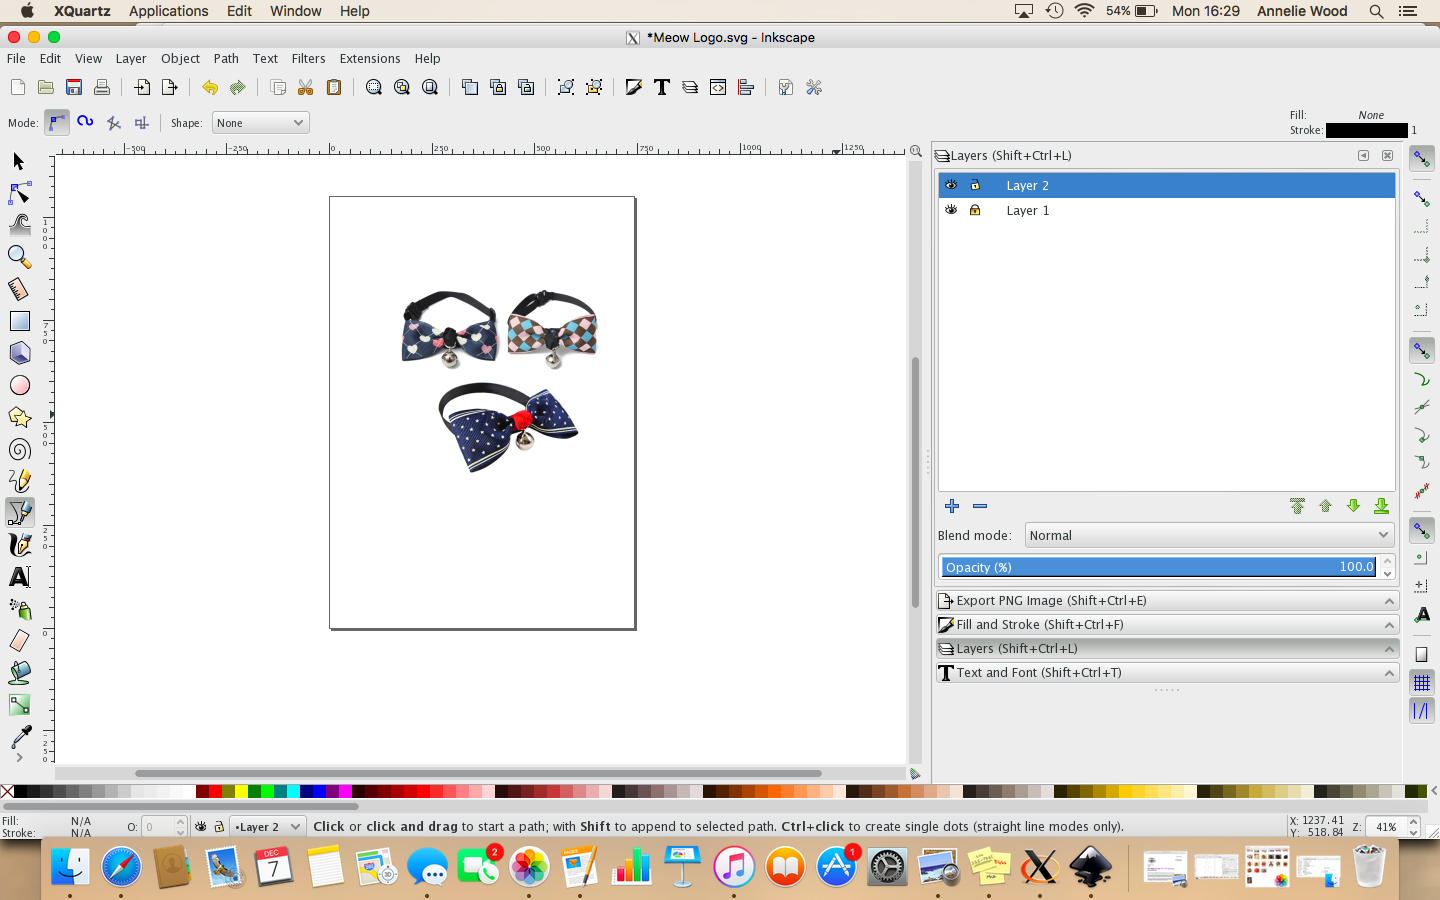
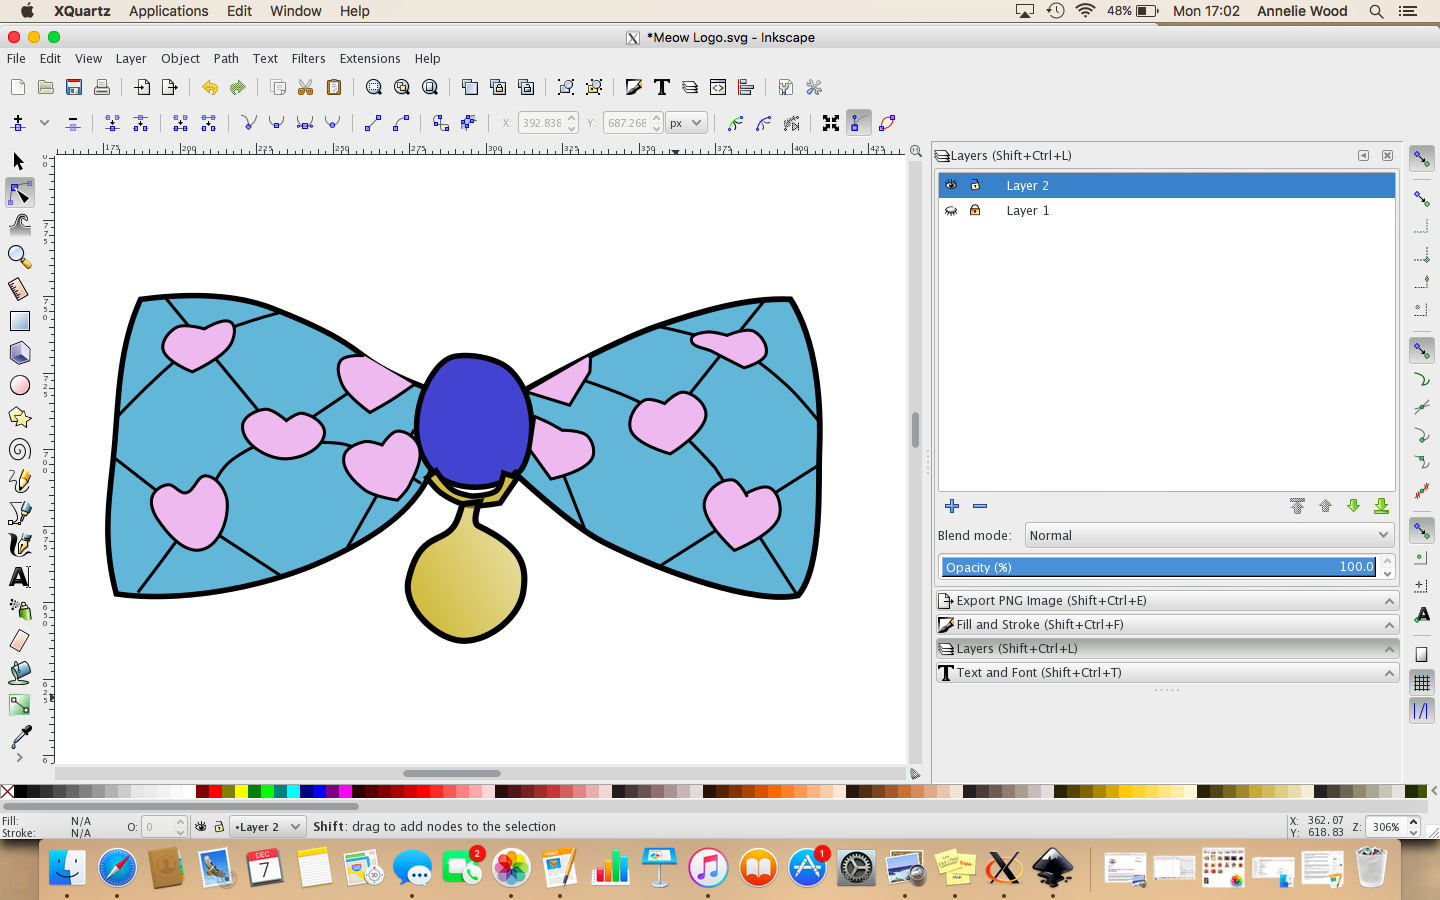
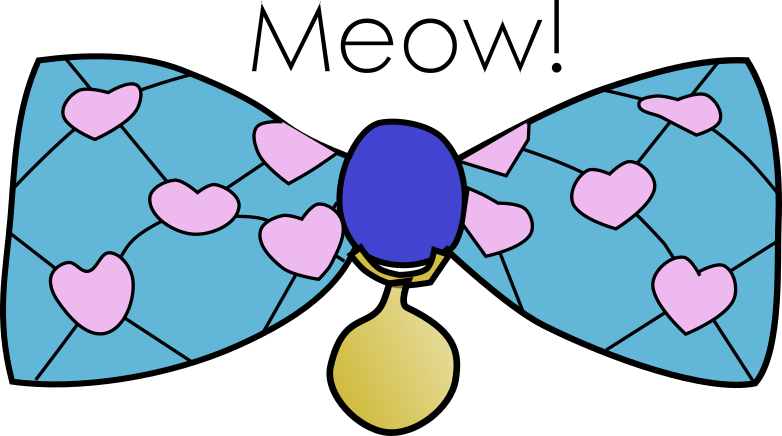
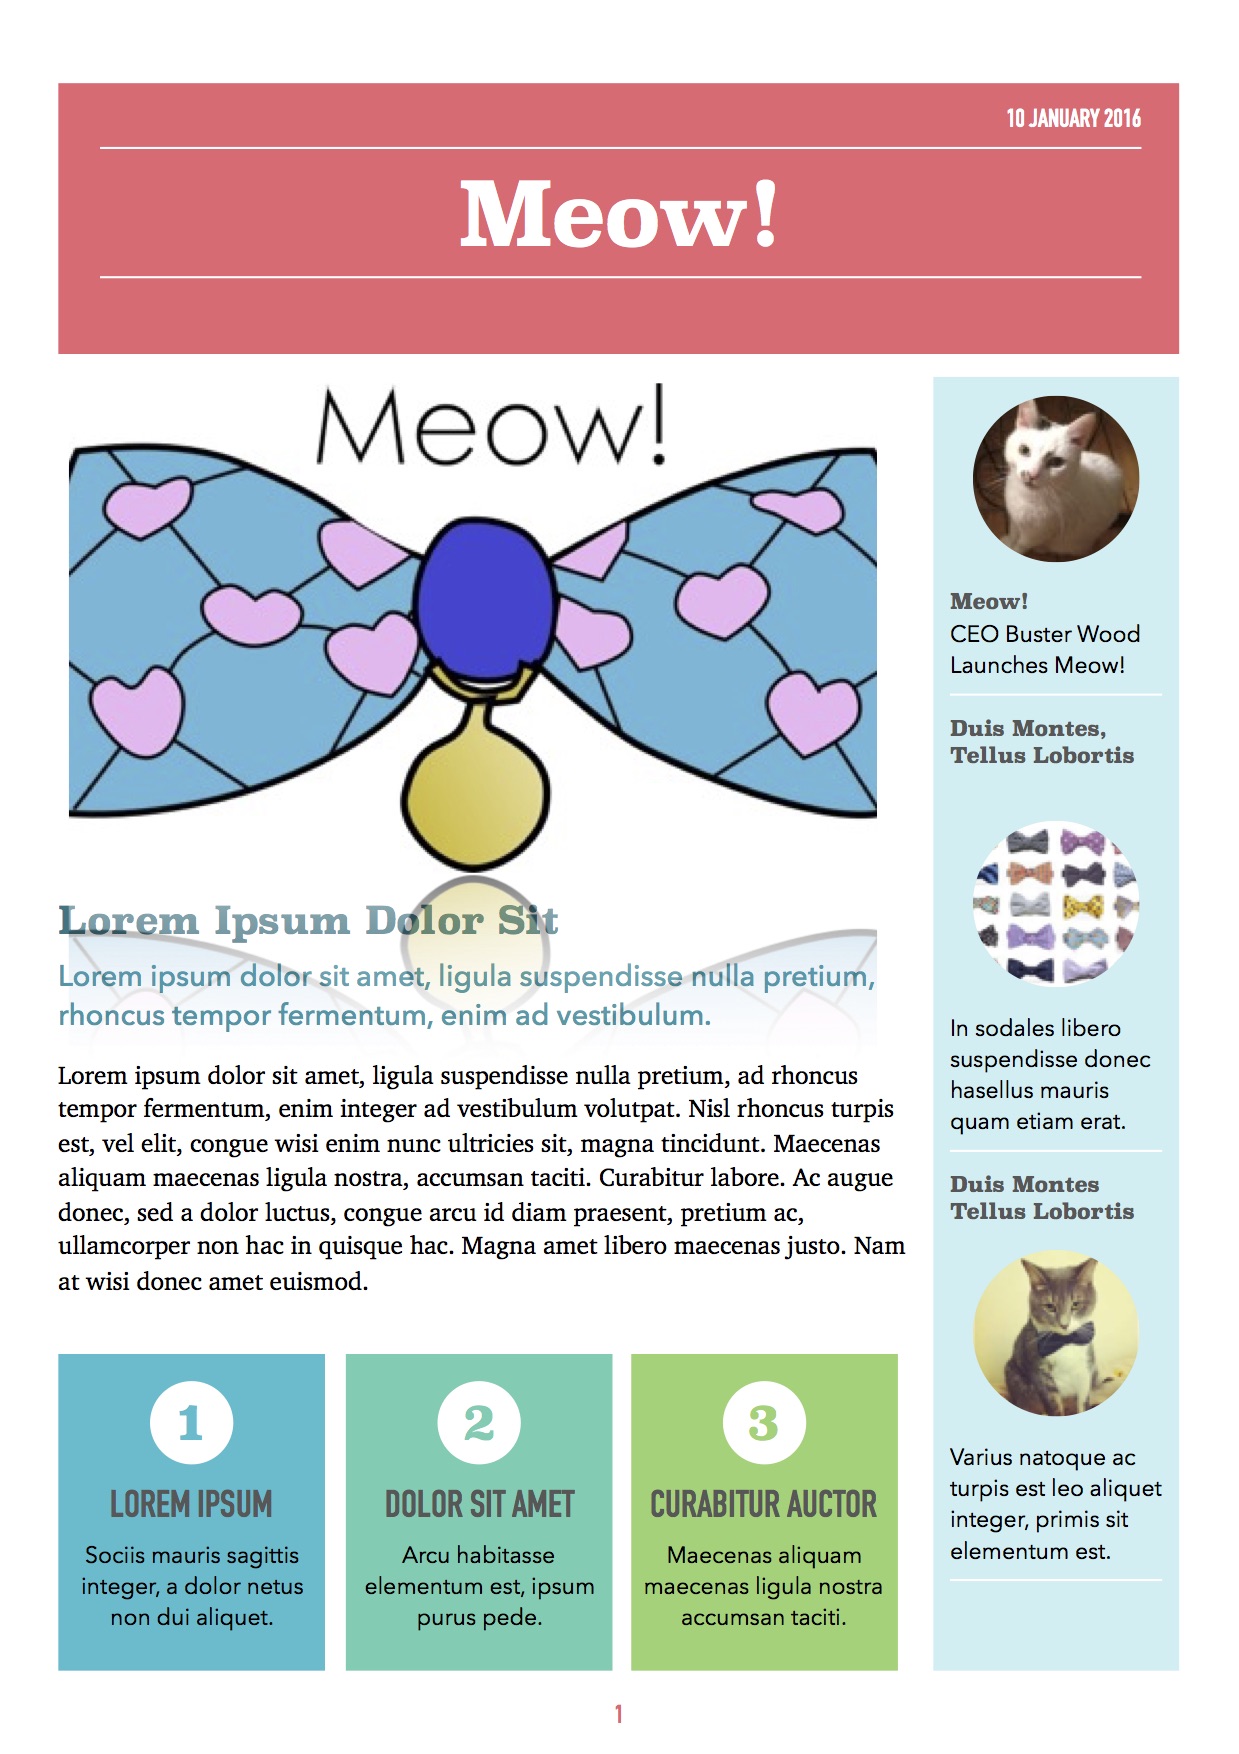
I’m going to answer them on behalf of Buster the Cat, CEO of Meow (you may remember him from an earlier post on his business logo), to show you what kind of information you want to think about putting in.

  • Who: Meow! is a new small craft business making handmade bow ties for cats and dogs
  • What are you doing: We are designing and creating bespoke bow ties for the animals in your life
  • Why should they be interested: Not only do the bowties make your animal look stylish and cool they are also functioning as a collar for you to add their ID tags
  • When are you doing it: Meow! is launching its online store on Saturday 9th January 2016 at 9am
  • Where can they find more information: Links to the website, etsy store, Facebook page, instagram, twitter etc…….

Now you have your outline its time to start making it stand out.
You want to make sure that your press release matches your business and your products, so if your making and selling handbags, make sure that the theme reflects this. If you google Press Release, you will see lots of images of wordy documents, and that is fine. This is what is expected of a press release and if thats your style then go for it. But don’t be afraid to make your press release stand out, be colourful and bright, add lots of pictures of your products and designs and it can be more than one page if you want it to be.
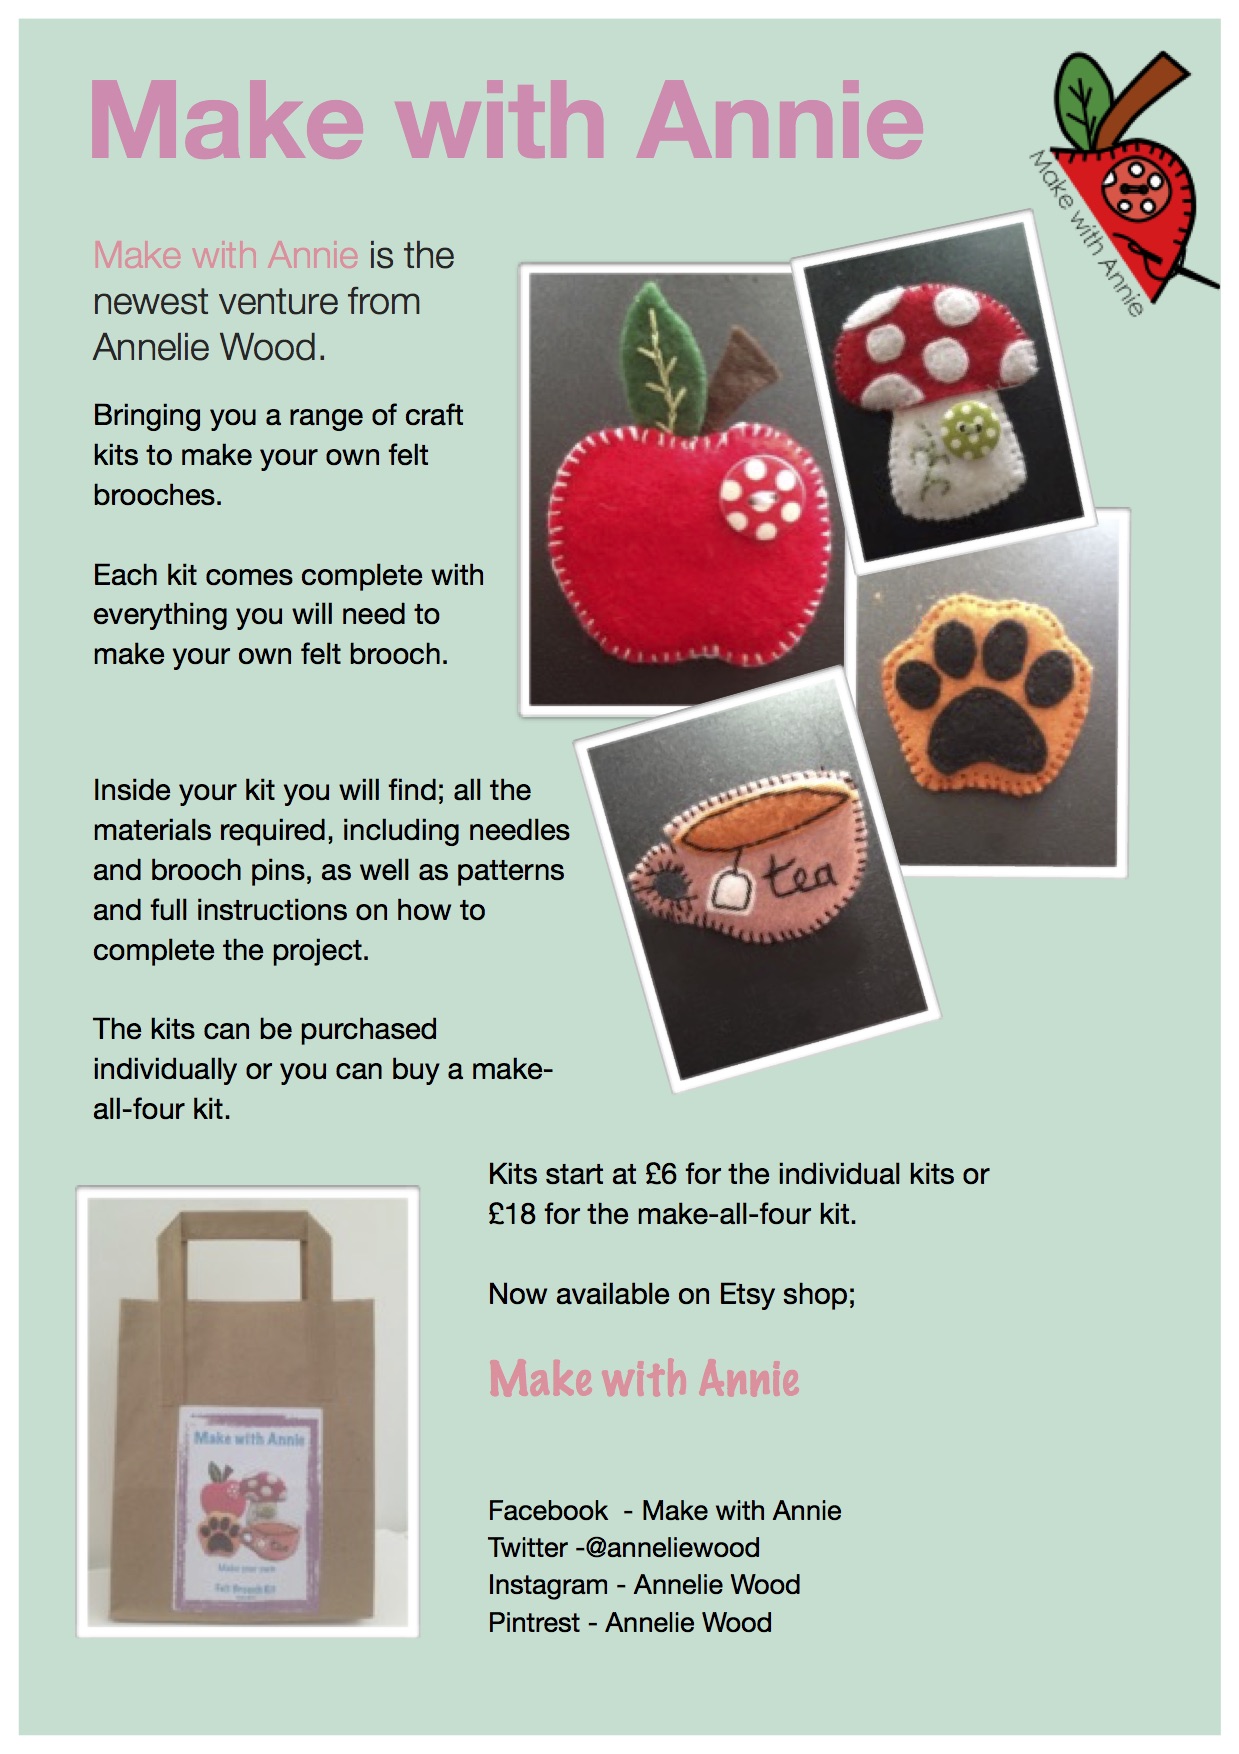
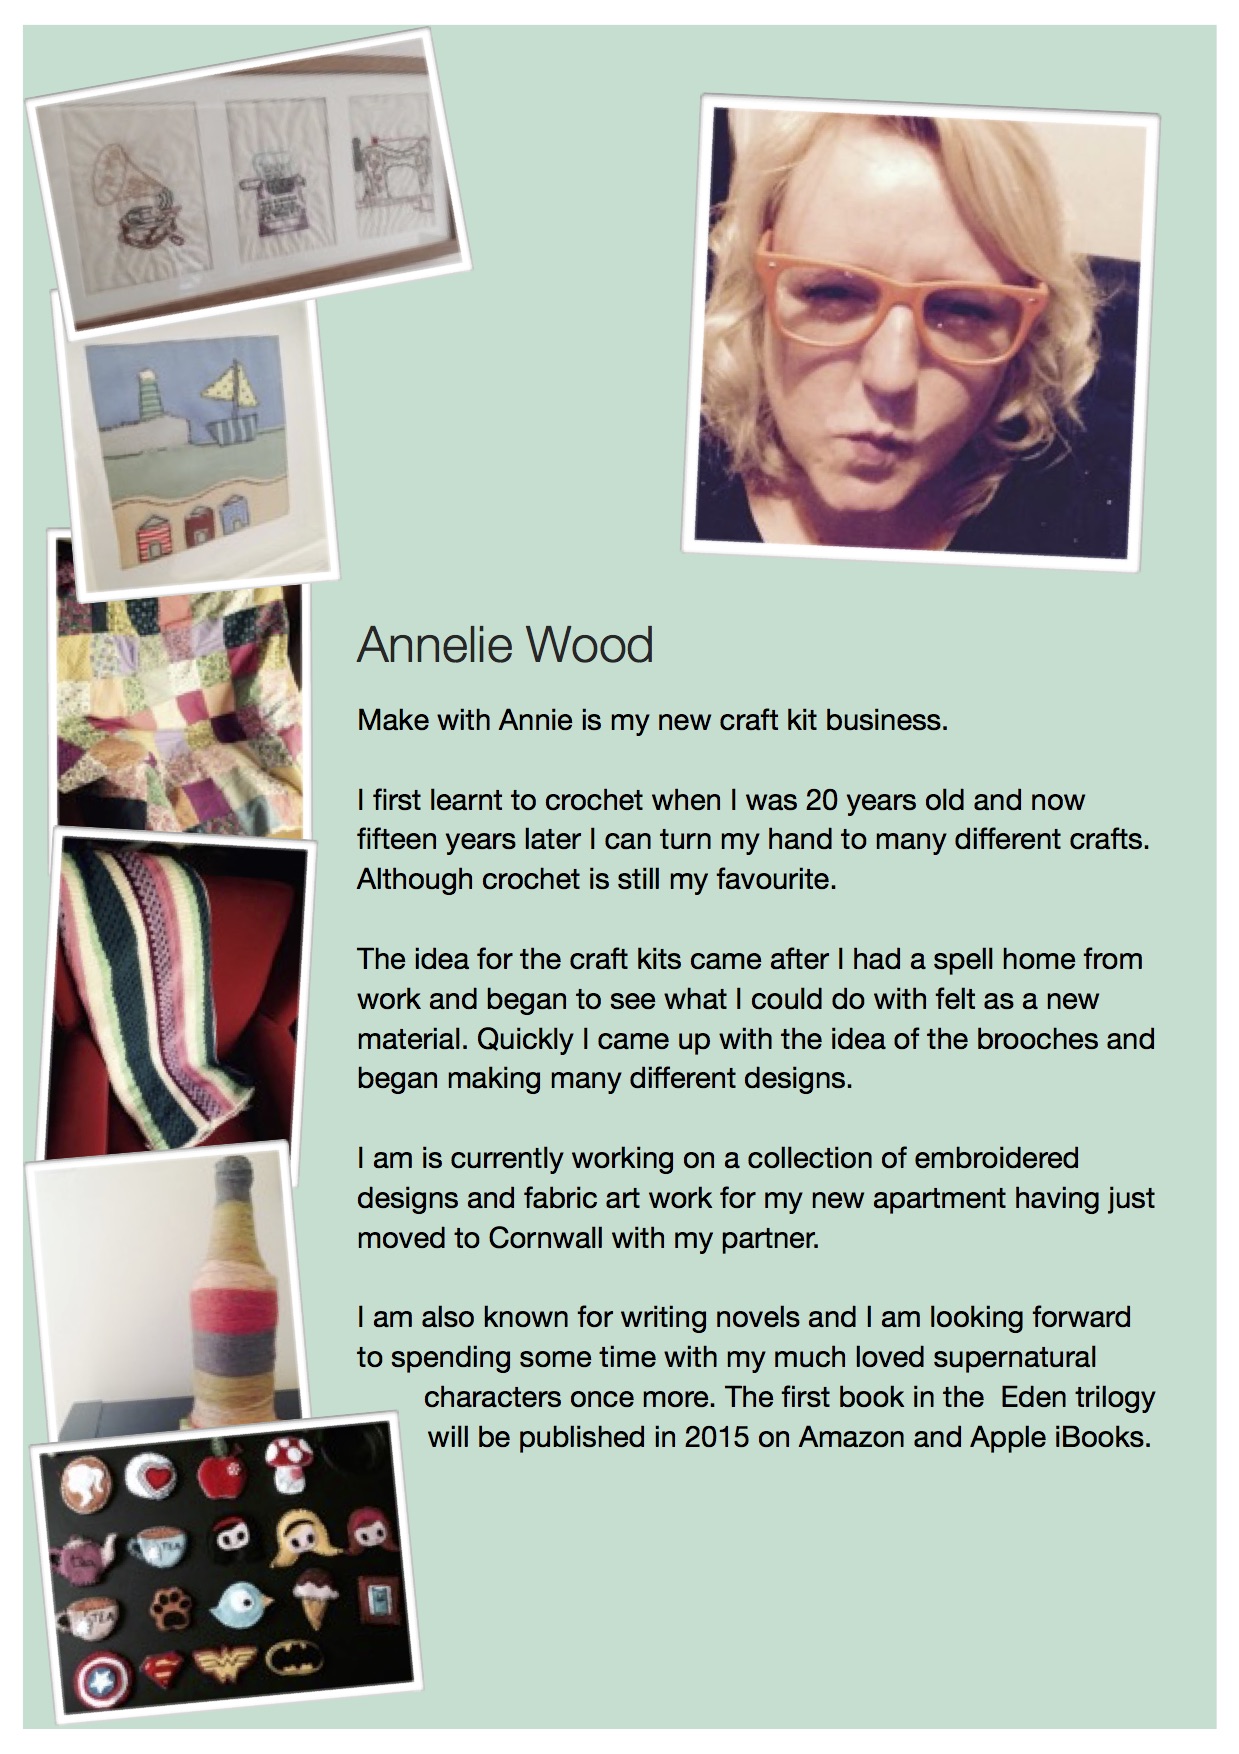
Here is a sample of the press release for Make with Annie and for Meow!;

Press Release

Make with Annie Press Release


Press Release P2

Make with Annie Press Release P2


Meow! Press Release

Meow! Sample Press Release


You can see that I have added extra pictures of craft products I make as well as a picture of myself from my Etsy store and my business logo. I have tried to ensure that I caught the eye of the person opening the attachment.
Buster has created an informative but yet fun looking press release for Mewo! in the style of a newsletter.
Play around with your press release but make sure that it shows the reader who you are as a business.
Once you have your press release and your pleased with it, you need to find as many different publications as you can to send it to. Make sure that the publications are relevant, for example if you make bow ties for cats and dogs you would do well to send it to animal lover magazines, but perhaps not to tool buying magazines. You do need to send it to a lot of different people, I sent mine out to over fifty different publications, bloggers and writers and so far have only been featured in Prima Magazine, because your product might not be what they are looking for, or they might miss your email believing it to be spam, but you just never know what might come from it.
Give it a go! But one thing to remember is that if you do get a little success to ensure that you make the most of it. Since the feature has been published I have thanked the magazine publicly through my Instagram, Facebook and twitter account, I have shared my own posts on social media and tried to use the momentum to carry the feature through to my etsy shop and convert it into a sale. It takes some time to market your product, but if you want to make your business and products a success then you have to put that time in, as nothing happens all by itself
Links to useful resources:

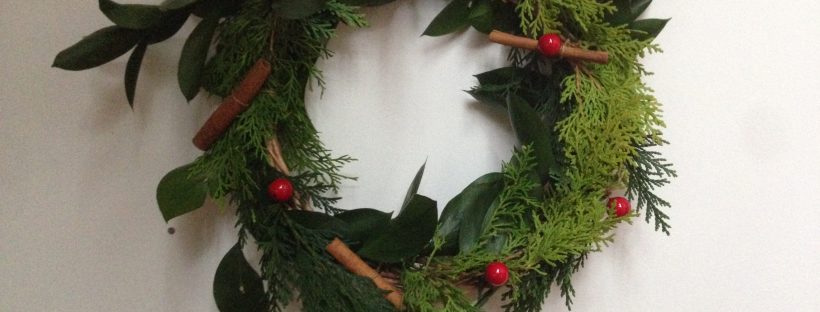
Making A Christmas Wreath

Author Make With Annie

Its that time of year, tomorrow is the first of December and in my house that is the day that all the christmas decorations are put up and I can’t wait.
I’ve been and bought the new sparkly hanging things that my mother would never let me have up in the house, I have made bunting, and the tree is out of the attic, so all that was left was to make the wreath for my door.
This christmas I live in an apartment, which means that the only people who get to see my wreath are my, my other half, and the neighbours. Oh and any guests that might come round too…  but who cares that I no longer have a street facing front door to decorate, you can decorate your bedroom door if thats all that you have. Its the wonder of christmas and all the decoration that comes with it, so follow my advice below and have a go.

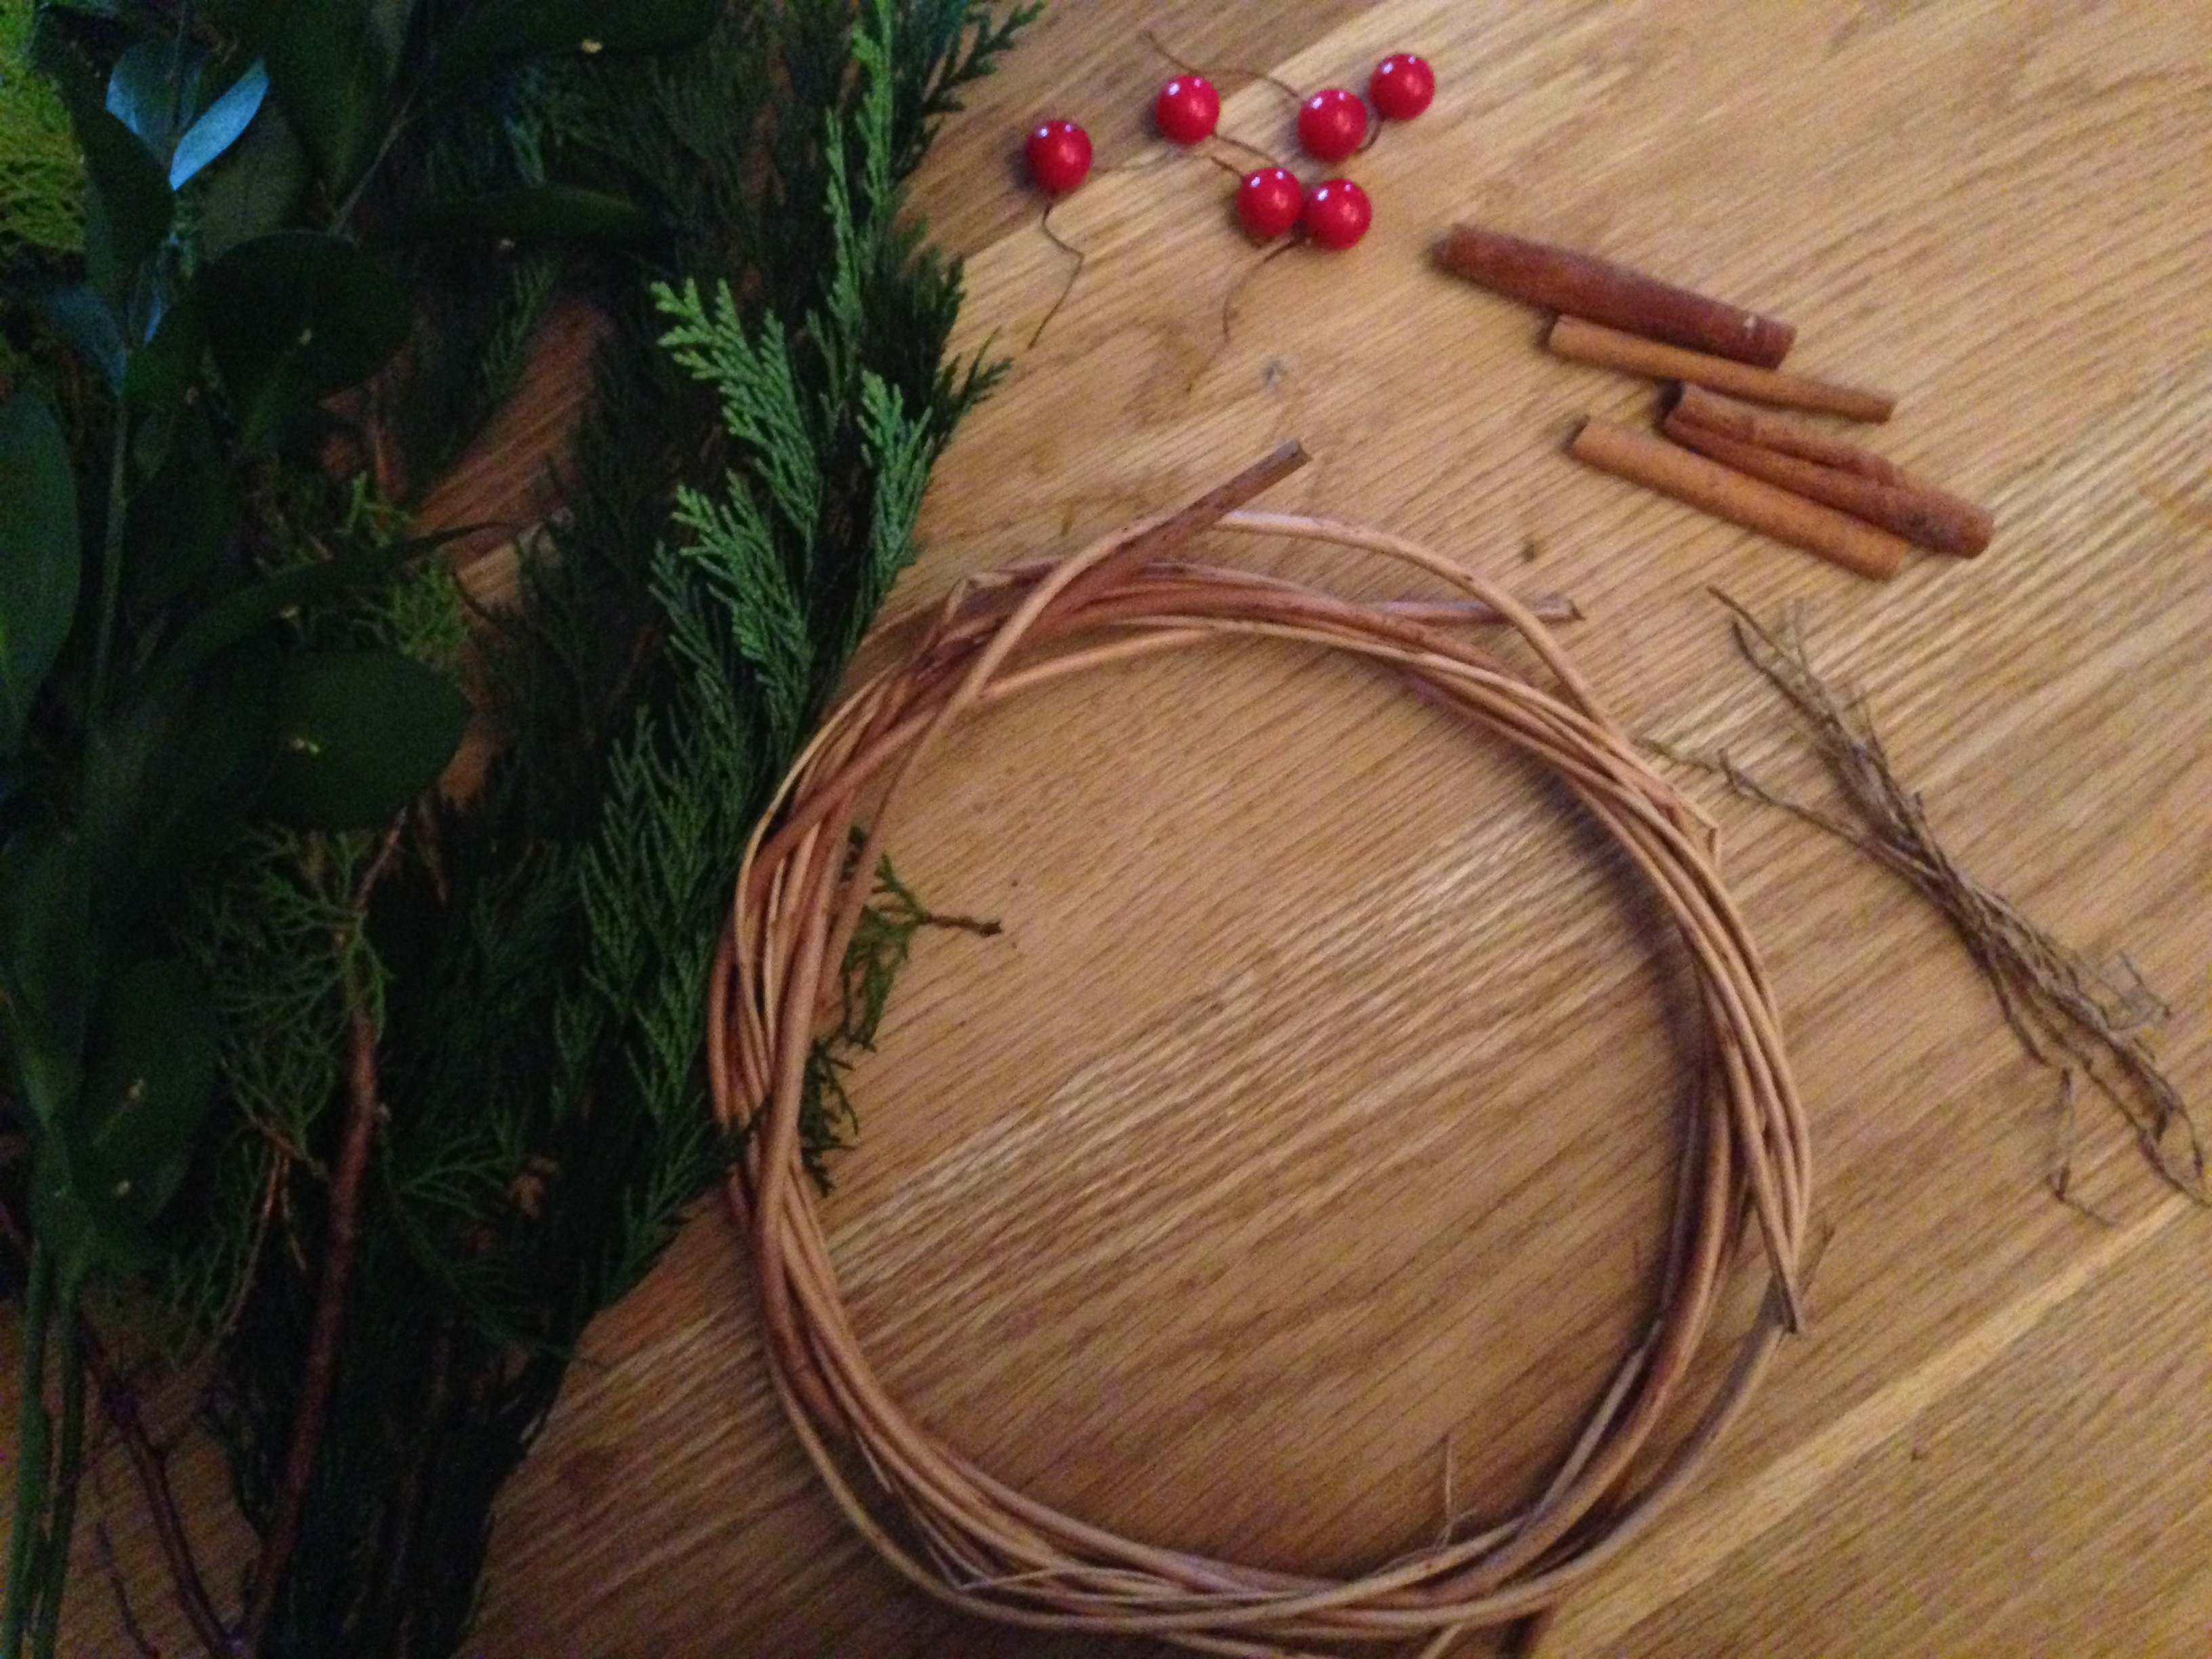
You will need

IMG_4834

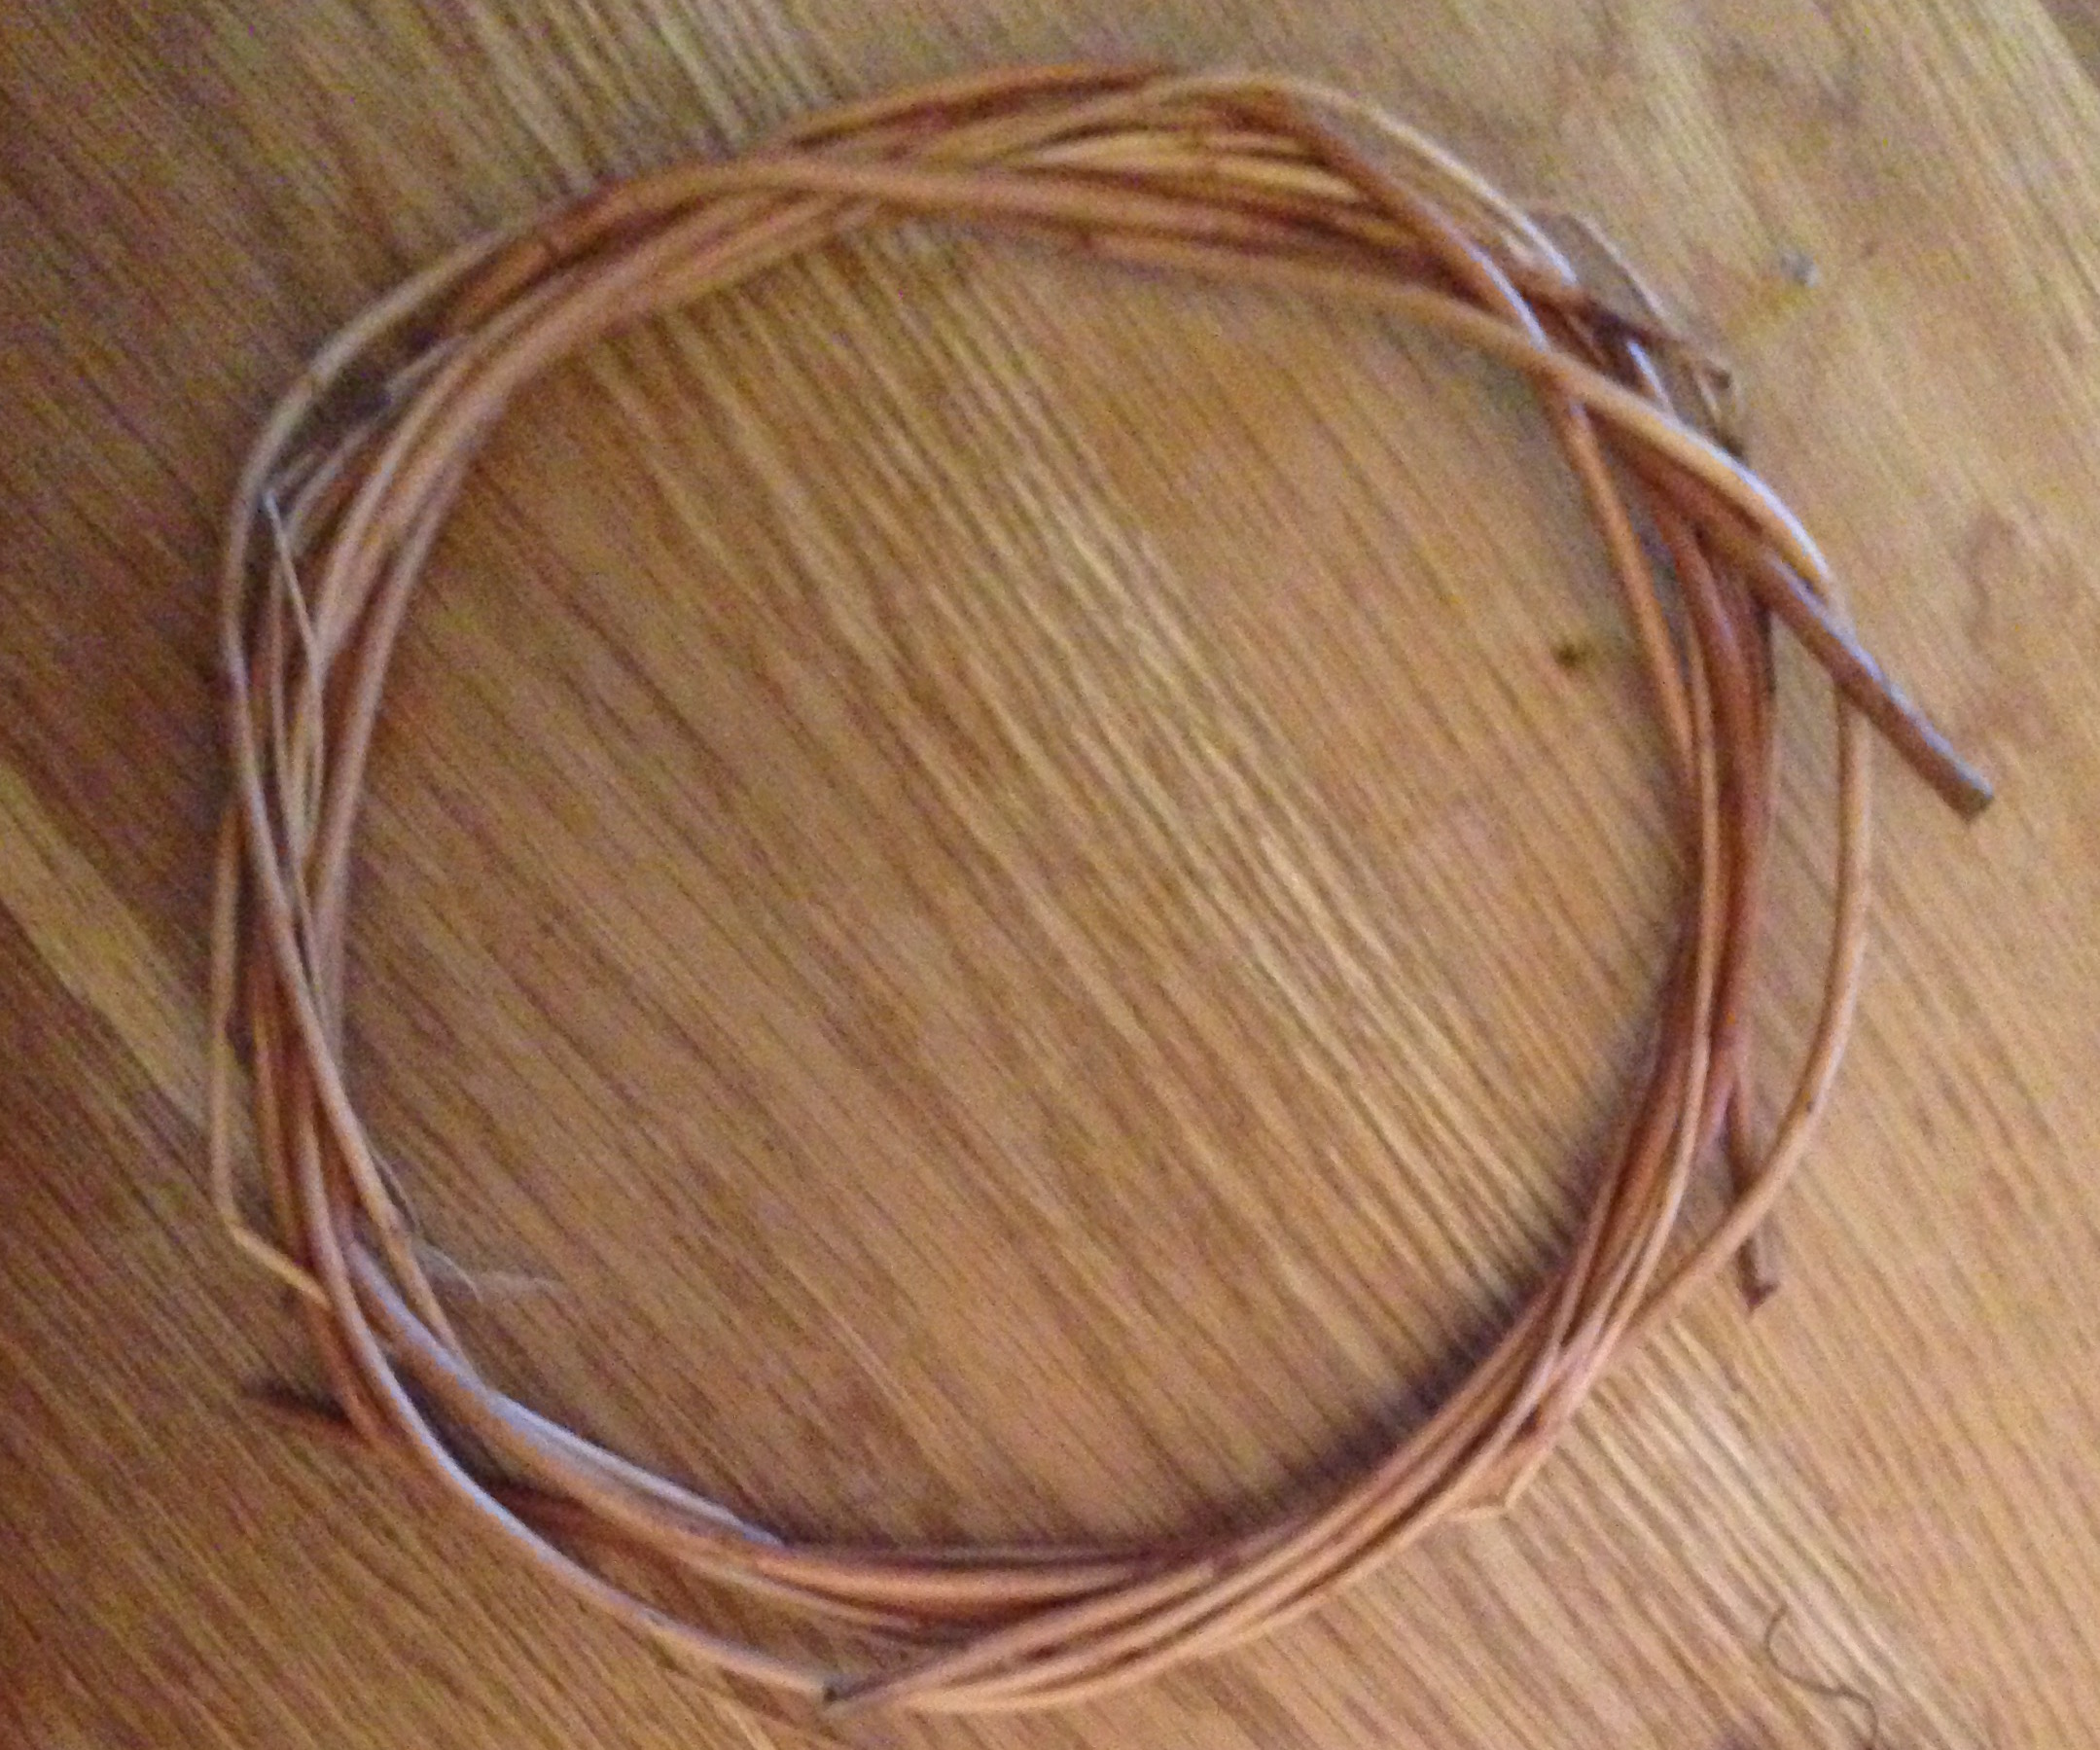
  • A rattan or willow ring (or 5 willow stalks if you want to make your own)
  • Cinnamon sticks
  • Plastic berries with wire attached
  • Greenery – Holly, Ivy, Bay leaves, conifer
  • Garden twine

Step 1 – The Ring

IMG_4833

What are you going to make your ring from? Or what are you going to buy that is a ring to form your wreath? You can buy polestirine rings (although not the best for this- unless you want to make a pom pom wreath), or rattan rings from Hobbycraft or other such shops. I have even seen simple versions in the local poundshop so its always worth popping in there.
I have made my own from willow, and was lucky enough to find it at a local National Trust house, but you can buy it online from a number of different places. Failing that you can forage for bendy stalks in local woodland!
If you buy your willow as stalks you may need to soak it as it will have hardened and to make the wreath ring you need bendy stalks. Once you have your stalks ready you need to start by taking one stalk and turning it into a ring. You can use garden twine to secure.
Then take your next stalk and wrap it around and in and out to create layers to your ring. You should do this with each other willow stalks, always starting at a different point to try and make sure that your ring is evenly thick.
Once your ring is complete secure down any loose ends with garden twine, to ensure that your family and friends don’t get poked in the eye when they visit you.
Here is a Channel 4 handy guide to soaking your willow.

Step 2 – Greenery


It doesn’t matter what greenery you decide to use on your wreath. Traditionally it is Holly and Ivy but unless you really can use anything you want to. I went into my local flower shop this morning and they had conifer and other types of green that they use to embellish their bouquets of flowers, they cost 60p and stalk and in total i spent £3.
Cut down your greenery to make sure that you have some lovely long lengths that you can wrap and twist around your ring.
As you wrap the greenery around the ring ensure that you tuck in any loose ends or secure it with garden twine. Keep wrapping until you have a nice coverage over your wreath. This is where your creativity can be used and you get to decide what you want.
Once your happy with your greenery just make sure that you have tucked in all ends.

Step 3 – Decoration

IMG_4837
I have used cinnamon sticks and plastic berries on my wreaths, but you can use any thing you wish. Pinecones look wonderful, or little snowy logs, basically anything you want. Again be creative and make your wreath personal to you.
No matter what you decide to decorate your wreath with you will most likely need to use garden twine to secure it. This also means that you can reuse the items when your greenery starts to droop and you have to change it.
Now your wreath is complete. Its so easy to make yourself and looks wonderful on your door. Or even just as decoration in your home.
For extra special christmassy scent you can use rosemary or lavender to give your neighbours a treat as they walk by your door.
Merry Christmas.

Make with Annie

Upload pictures of your wreaths to the Make with Annie Facebook page

Make with Annie: The Felt Creation

Make with Annie has been in business since September 2015, and I have to admit that a year ago I did not think that I would be creating for a living, and living in Cornwall.
Apple Logo
Around 18 months ago, I began to get severe and odd pains in my left foot and ankle and about a year ago I was diagnosed with Arthritis. I was only 34 at the time and it devastated me. I couldn’t enjoy the things I used to, like talking long walks with Mr H (the other half) and dancing. I loved, still love, a night out dancing. So what was I supposed to do at weekends now?
I have always enjoyed crafting, ever since I was a child making amazing Barbie houses from cardboard boxes, to learning to crochet at 20 from my mother, but now it became something more. I wanted to try every craft that I could.
That was how I found myself swapping my Friday nights out on the town with cups of tea and craft.
I have now learnt the following craft, knitting, sewing, pottery, toy making, card making, embroidery, cross stitch, and finally working with felt.
Felt is an amazing material to work with, its thicker and softer than fabric which gives you rigidity that you don’t get from fabric (without interfacing the backside off your material and making it really stiff). The first things I made with Felt were just a year ago. During a weekend visit back to my family in Lincoln for some Christmas festivities, myself, my big sister and my niece sat at my mums house and made some felt christmas decorations for our trees, and I loved it. It was so easy, quick and so pleasurable and I wanted to see what else i could make from Felt.
Then flash forward to July 2015 and I had just had an arthroscopy and some bone removed from my left ankle which left me in pain and stuck in the house for a few weeks, but it gave me the time to play once again with felt.
I had seen some really fun red riding hood brooches on Pintrest which gave me the idea for a whole disney range of little brooches. So I set about designing my own Alice in Wonderland and Snow White. There are no pictures of these because they were dreadful. They were complicated and fiddly and one thing small pieces of felt likes to do is fall apart! But all crafts men and women learn from their mistake and so I went back to my drawing board and thought about it from a different angle.
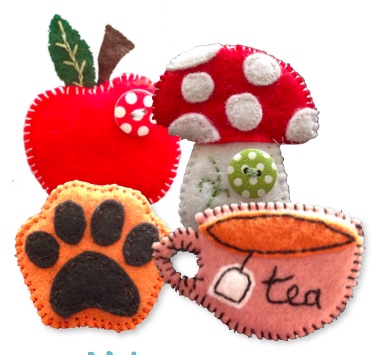
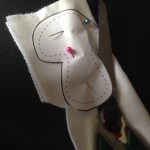
It was then that I made the first felt brooch that I have turned into a kit, the Apple. Inspired by the story of snow white, and then the tea cup from the Mad Hatters Tea Party and the Mushroom that makes Alice grow bigger and smaller. And i loved it so much i kept making them, birds, tea pots, little girls heads, animal paws (inspired by my beautiful cat Buster), superhero emblems and more.
It became a bit of an obsession, as many of my new crafts do, and I made things for family and friends and was so passionate about it, I even sold some when I got back to work. People really liked them and kept asking me to make more,  but there comes a point when I get bored of making something, I think its about 4 or 5 times. So I stopped!
About a month later I had to leave my job, Mr H had gotten an amazing job offer in Cornwall and we had decided to make the move from our city living in Nottingham to the country, 300 miles away. When I knew that I wouldn’t have a job I thought that this would be the best time to start trying to do something for me. And so I turned my four favourite brooches in craft kits.
The Apple, The Mushroom, The Teacup and The Paw.All 4
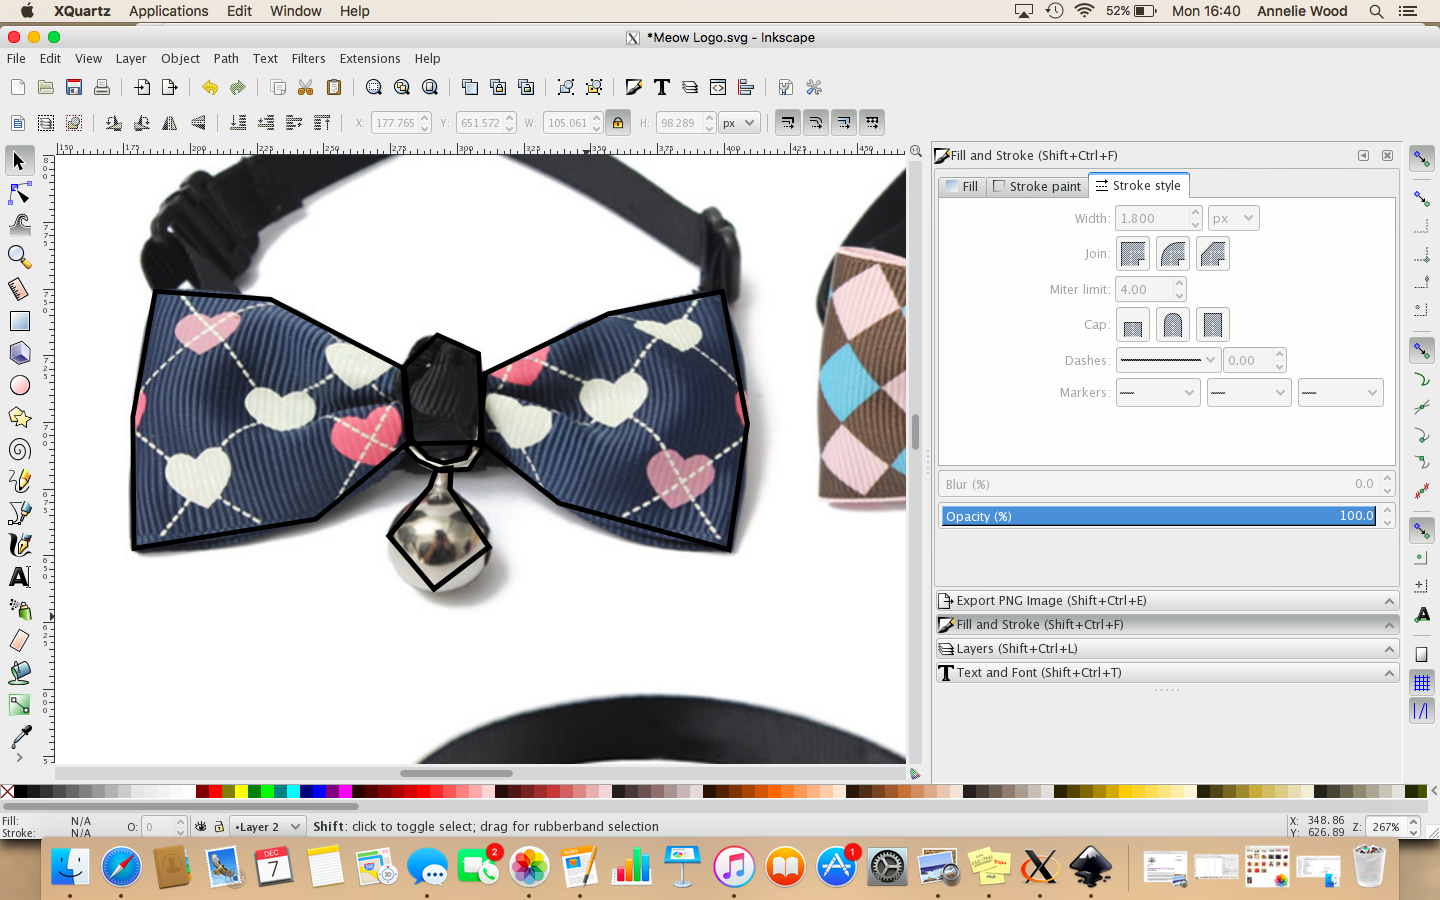
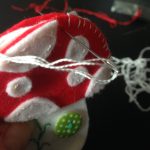
I had to learn many new skills in the creation of the kits including the use of graphics programs. Until that point all my patterns had been hand drawn and now they needed to look good and the lines needed to be clear or even straight. So I scanned my hand drawing into the computer and downloaded a free graphics package called inkscape and I looked at it and realised that I had no idea what I was doing or how to use it. But after a quick tutorial from Mr H I was on my way and created all my own patterns. It was a steep learning curve but well worth the time put into it because now the patterns look professional and much easier to use.
I ordered supplies of felt, bags, thread, needles, brooch pins, packing labels, and when each of them arrived I was practically giddy with excitement. I created booklets with photos and full step by step instructions, so that each kit would have everything it needed to ensure that whoever received the kit would have a pleasurable experience making their own felt brooch.
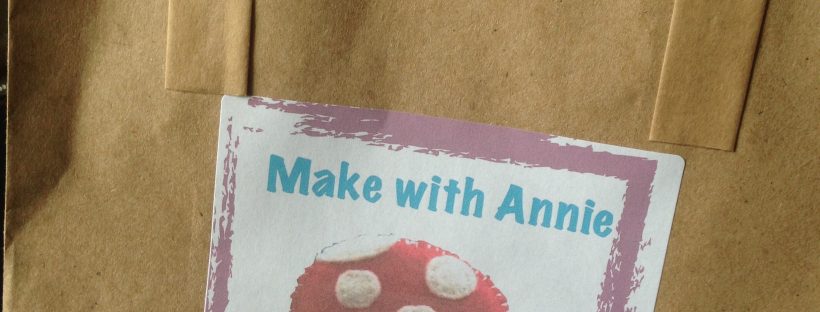
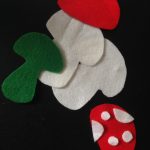
The kits come in a brown paper bag with labels showing what your end product will look like and what you can expect to find inside your kit. Inside the kit is kept safe with tissue paper and a sticker which thanks the purchaser for buying hand made. Once you remove the packaging you will find coloured felt, coloured thread, a brooch pin, a needle and any decorative embellishments that you might want to use, such as buttons. The kit also comes with a full 5 page instruction booklet with pictures and step by step instructions on how to make the brooches, including how to stitch it together with the recommended stitches.
Its a labour of love and now I am out and about at Craft Stalls and on Etsy and Folksy trying to see if I can entice others to love felt and love making their own things just as much as I do.

Upcoming places to see Make with Annie:

28th November 2015 – Redruth, Murdoch House, Cornwall
5th December 2015 – Camborne, The Donald Thomas Centre, Cornwall
11th, 12th December 2015, – Falmouth, The Curious Hall, Magic Art Fair, Cornwall
19th December – Camborne, The Donald Thomas Centre, Cornwall