Welcome to the February Craft Along!
Getting your hands dirty is always fun and this week I am going to show you how to make your very own air dry clay bowls.
Air dry clay can be used for many projects, if you just search on Pinterest you will see thousands of ideas and inspirations for things to make. So once you have had a go at making these lovely bowls have a look at some other ideas and use up your clay to make creative items for your home.
(I’m making coasters next out of my left over clay!)
So here are some things that you are going to need in order to make your very own clay bowls.
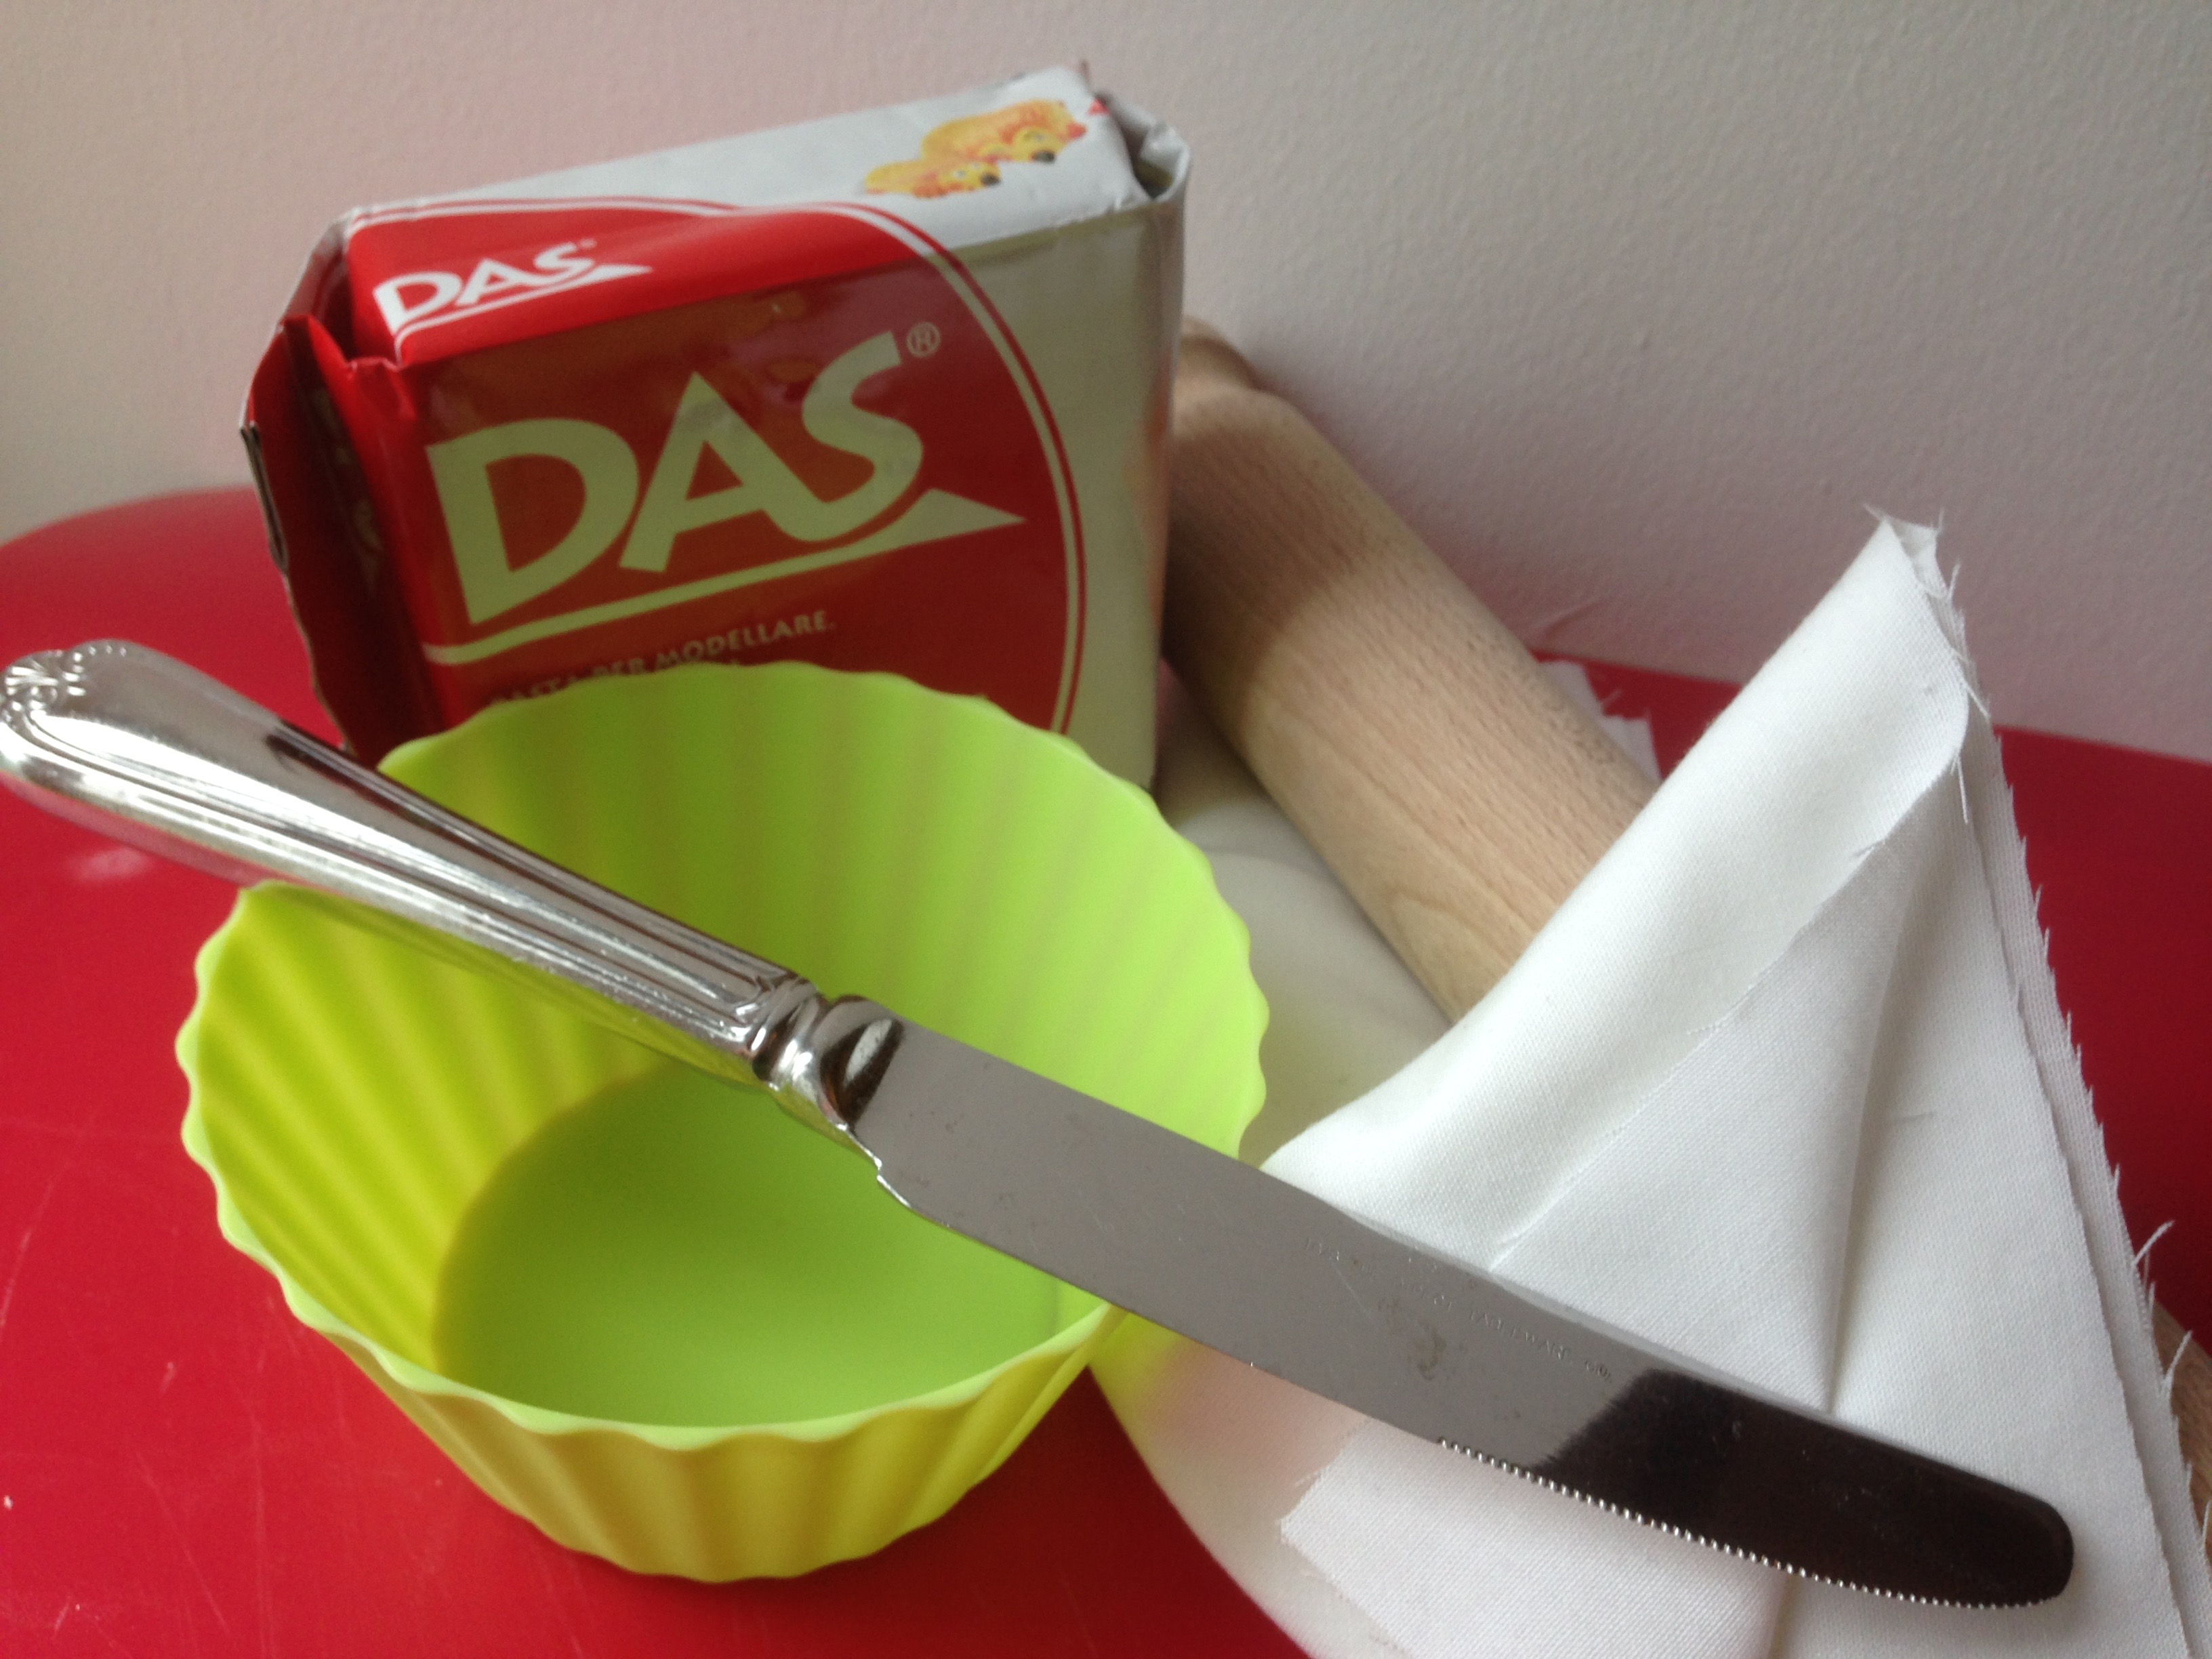
- Air Dry Clay (I prefer to use the white or neutral coloured clays but you can use the terracotta if you prefer)
- A Rolling Pin
- Cutting tools (I just use a normal cutlery knife, a butter knife would be brilliant)
- A Bowl (pick a bowl that you want to use as a mould for your clay one)
- Cotton fabric
Step one – Your work area
Wherever you are on undertaking your clay work, ensure that your space is fully protected from the clay. It is easy to clean if you do accidentally get it on your dining table but I would make sure that you have covered it with a cloth.
I use a plastic chopping board, although it does have a tendency to move about during rolling!!
Step Two – Lay out your mould
You can use any size of shape bowl you wish, but I would suggest breakfast bowl or smaller would be best. I use these small little plastic Ice Cream bowls we have, which are a brilliant little size for a first project.
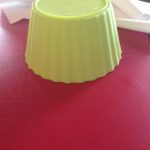
Once you have chosen your bowl size place it in your workspace, upside down and cover it with a piece of cotton. The cotton stops your clay from sticking to your mould during your creation or the drying out process. – I used some pillow cases I picked up from a charity shop (3 for £1) and just cut them up to the size I needed.
The reason I create the bowls over the top of your mould is that it is much easier to remove, and you can ensure that should you wish to have imprinted design on your clay it will not get damaged by laying it inside the mould.
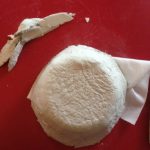
Step Three – The Clay

NOTE: Air dry clay starts to dry the second the air hits it, so make sure that you keep handy an air tight container and the wrapping the clay came in, so that you can reseal the clay.
First you need to cut off a small section of the clay. As the clay starts to dry so quickly, it is always best to work with small pieces. Once you have cut off the section you wish, make sure that the rest of your clay is wrapped back up in the wrapper and placed inside an air tight container.
Roll the clay around in your hands to form a ball and to combine the clay, then start rolling it out. Don’t worry about it being an exact shape at this point. Once you have the clay rolled to about 5mm you can lay over some lace or net curtain fabric or anything else you want, if you want to make an imprint onto the clay. Then continue rolling until the clay is about 2 to 3mm in thickness.

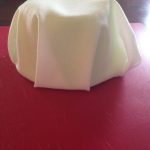
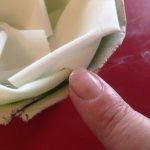
Now you are going to start laying it over your mould.
I like to tear my pieces of clay up to give more texture to the bowl, your don’t have to do this and can lay it on the mould as a whole piece.
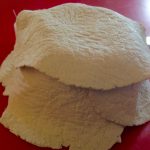
You will probably need to repeat the rolling and laying over the mould process with a few more pieces of clay until your bowl is entirely covered in clay. In order to attach one piece of clay to another I always dab a little water on each section of clay with my finger and then gently press one into the other.
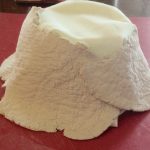
Keep layering your clay over the mould until the whole mould is covered and your are happy with the look.
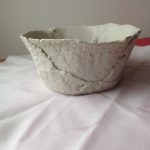
Step Four – Finishing your Bowl
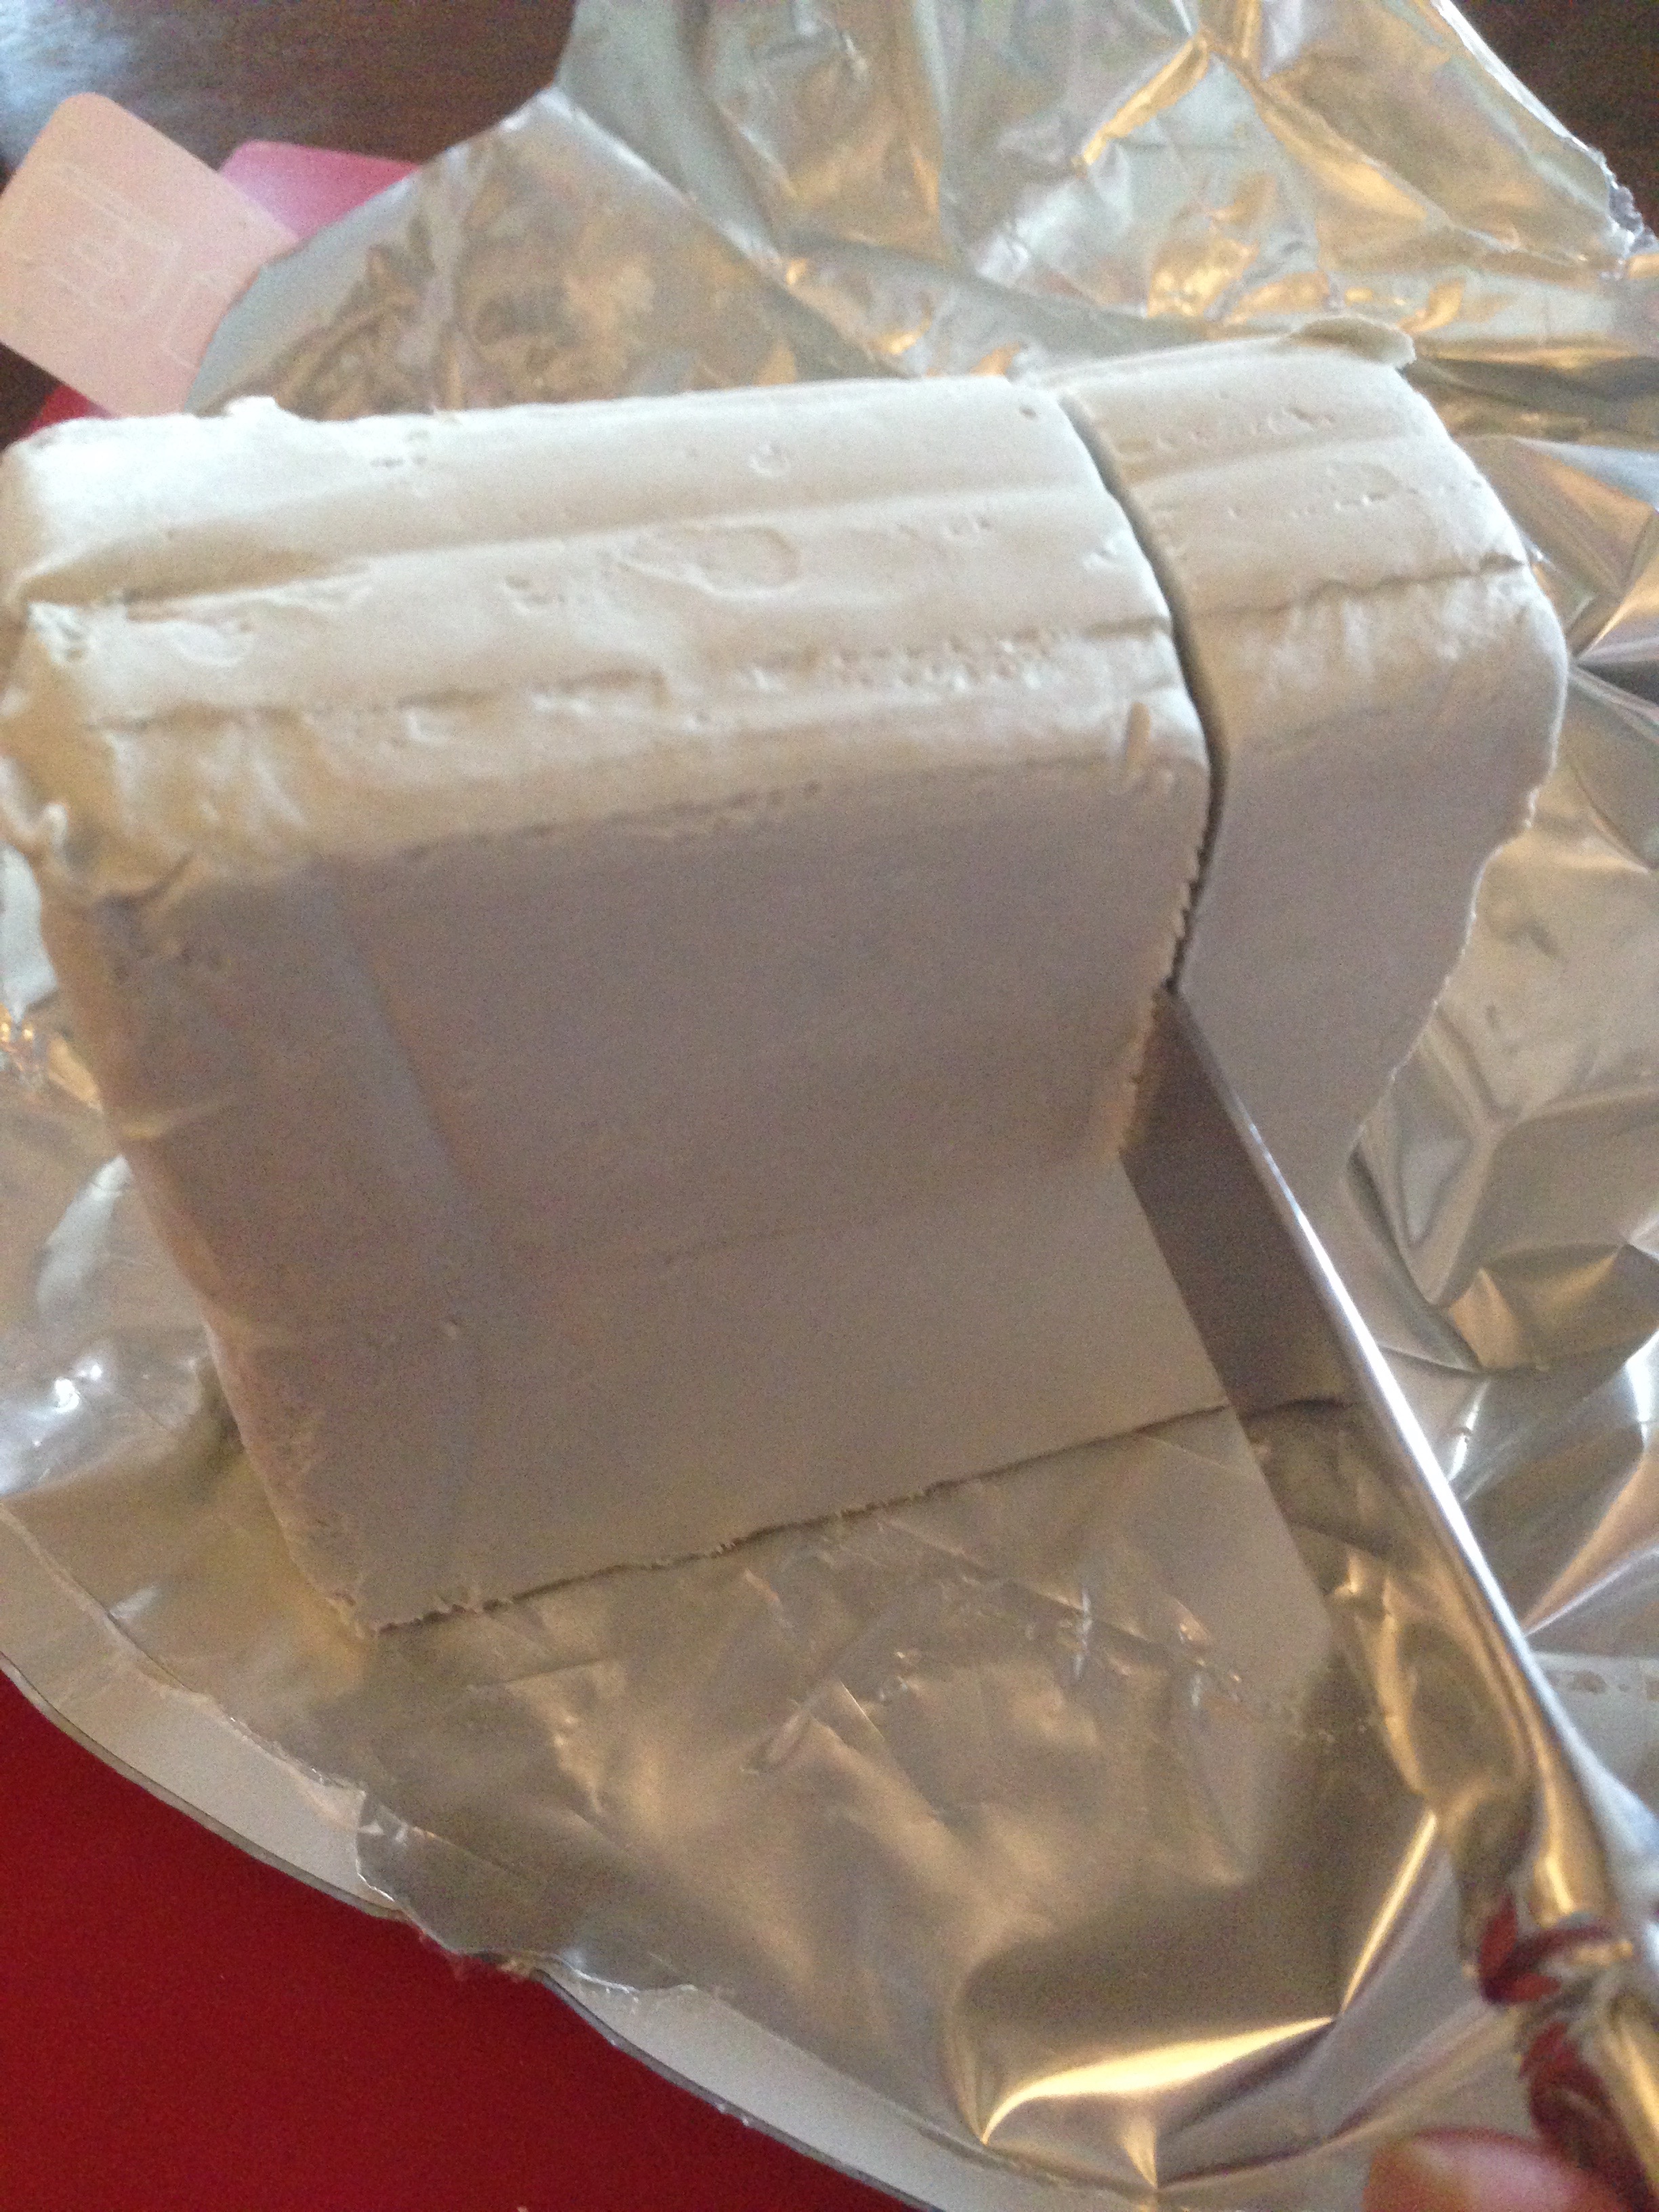
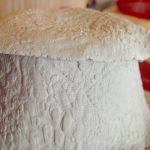
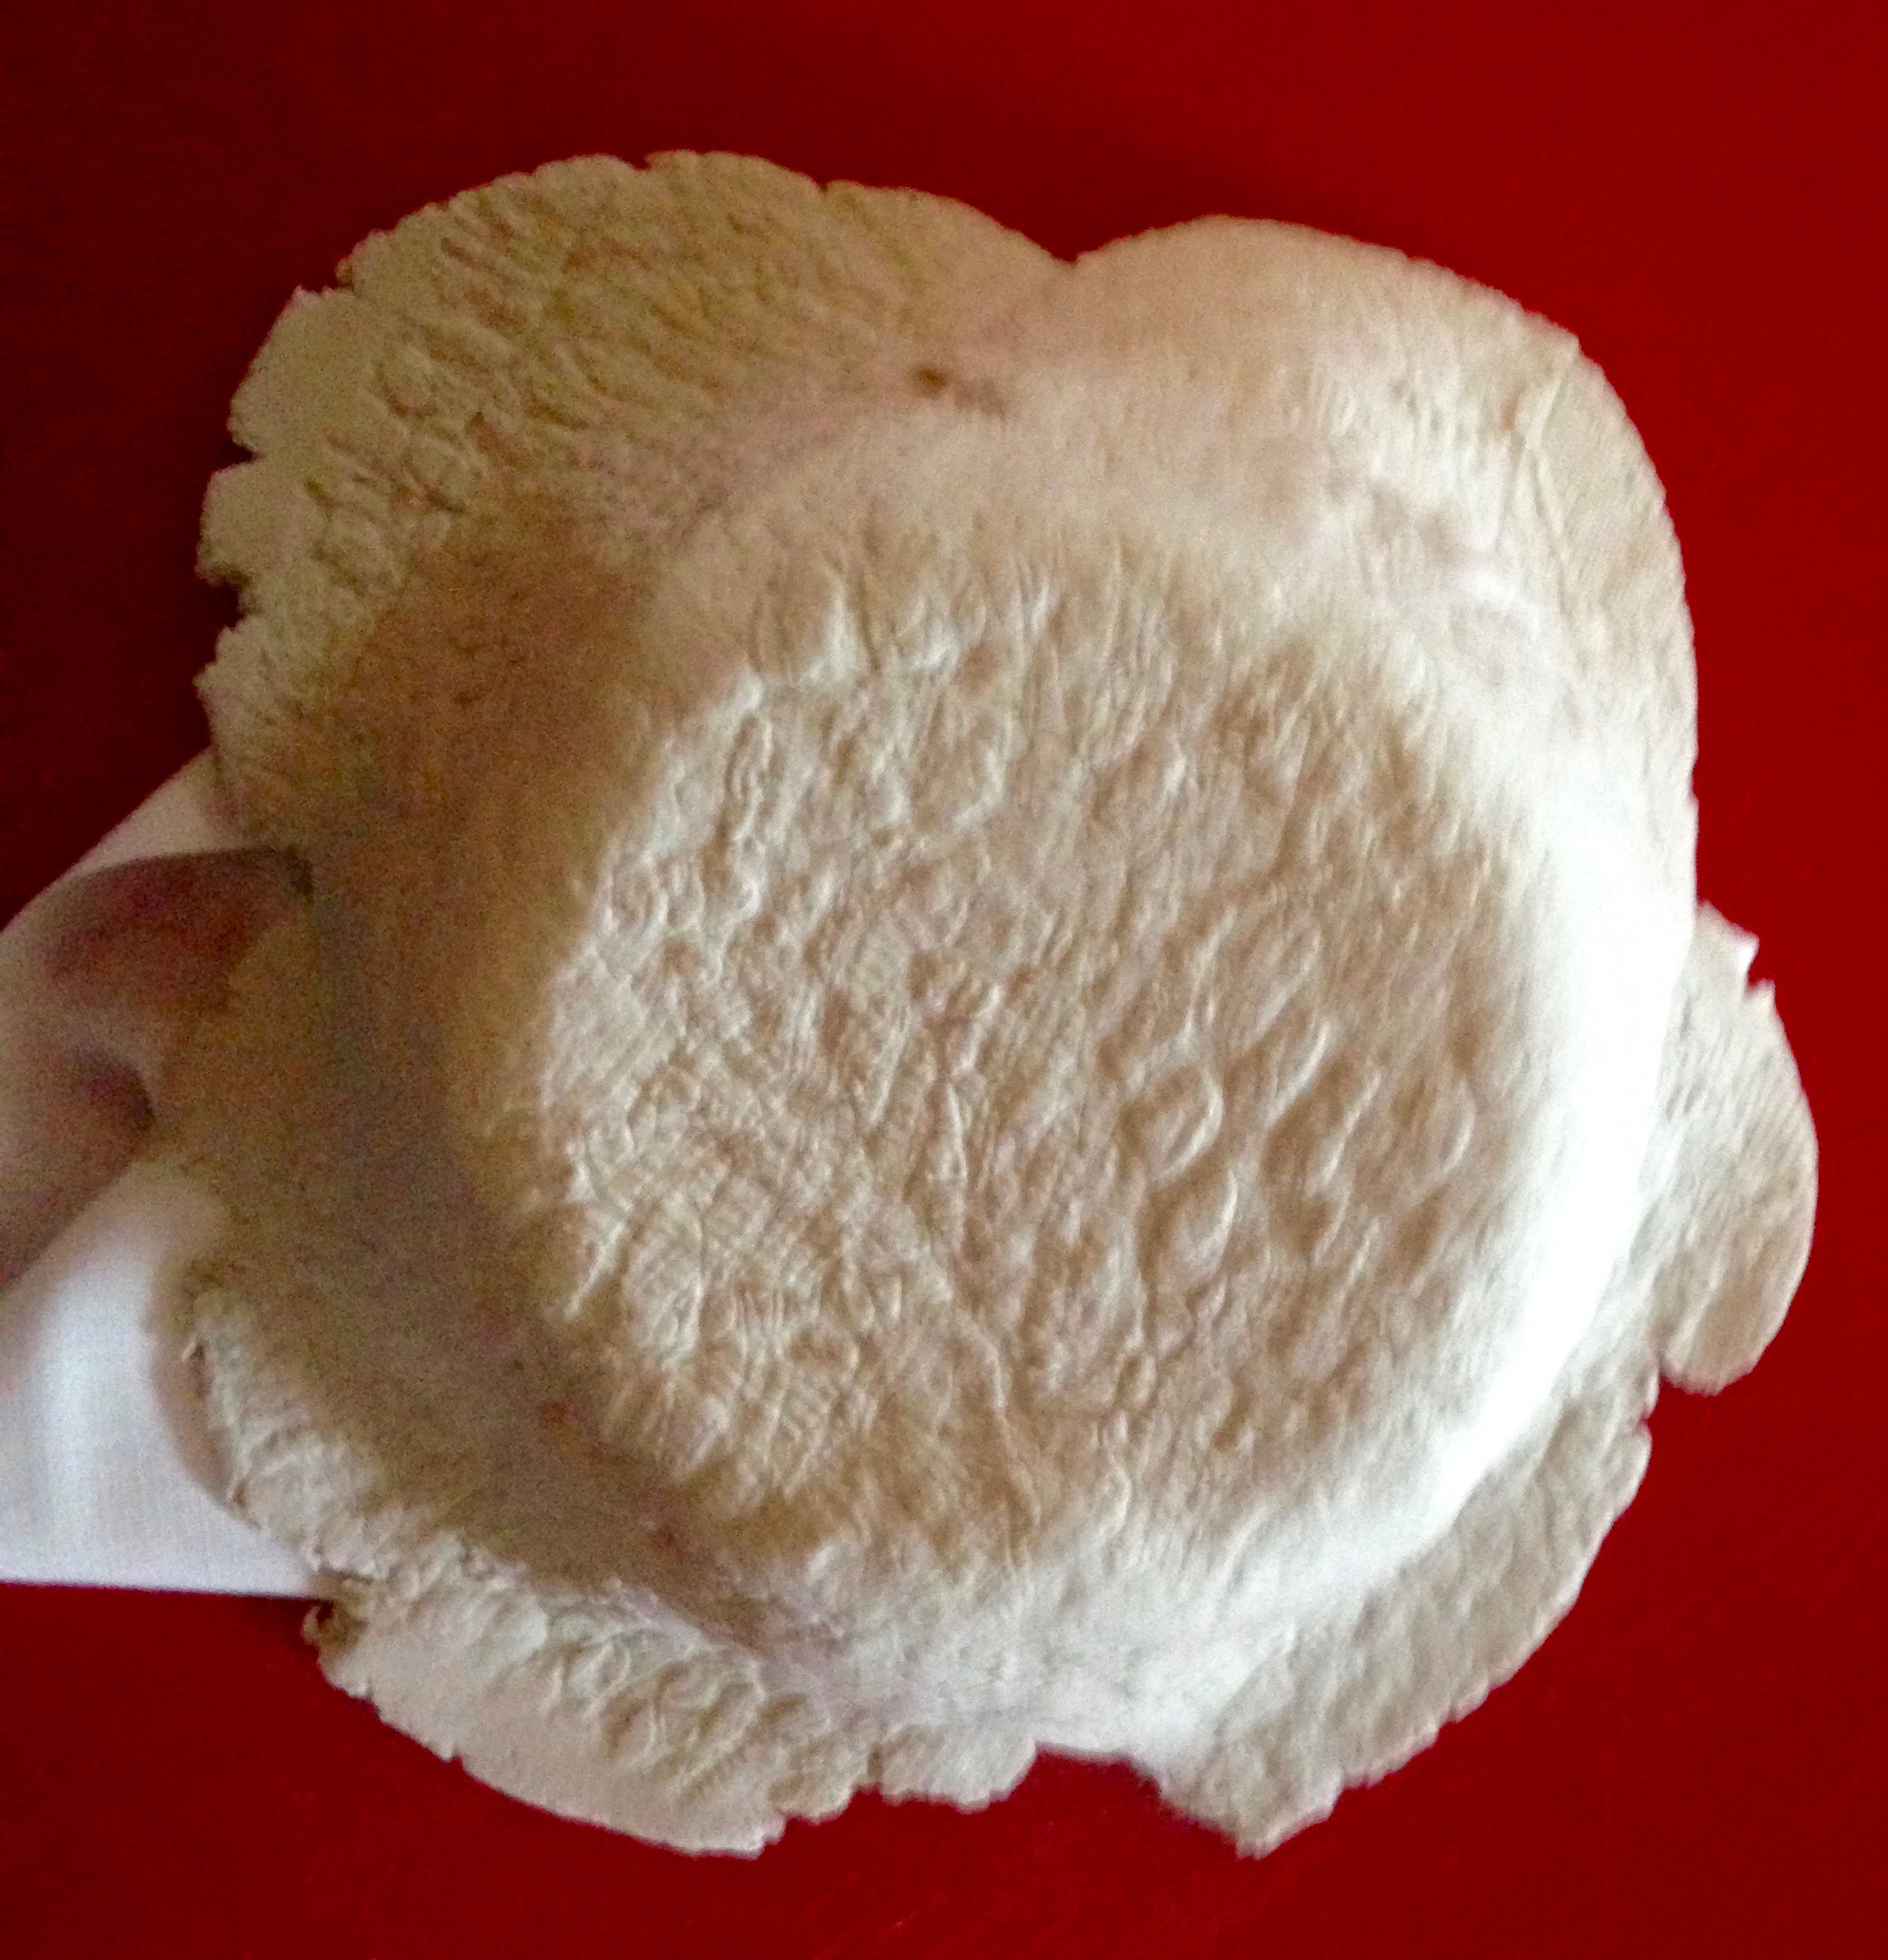
You need to make sure that the clay is all securely attached to one another, so place a piece of cotton or your lace/net over the bowl and with your hands press down over the edges gently but firmly to ensure its secure.
If, like me, you have so overlap onto the table then your can cut it off or leave it to add to the design of your bowl.
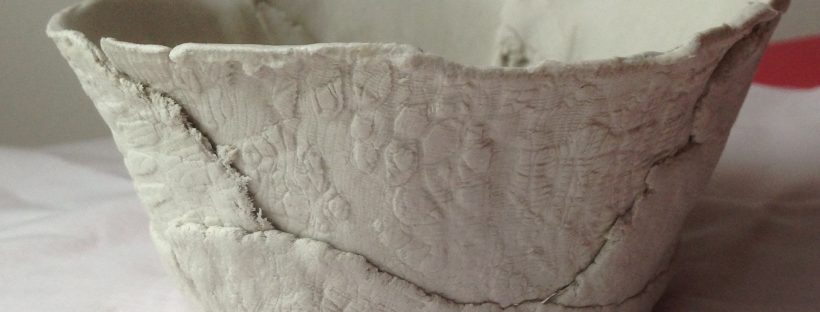
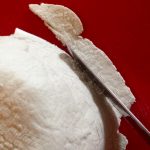
If you want to cut it off use your cutting tool to gently cut around the top of the bowl as seen in the picture.
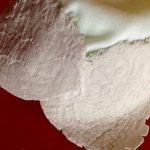
Then you can very carefully turn your bowl around and smooth the top edge of the bowl with a little water and your finger just to give it a smoother finish.

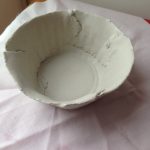
Step Five – Leave to dry
This is the long part, you just need to put your bowl, still on its mould, into a warm space and leave it to dry. Depending on the thickness of your clay it can take a week to fully dry. But the best way to check is to touch it and if it still feels wet or damp then it needs longer. One way to assist with the speed of drying is to take your bowl out of the mould after a day or two, and then turn it over each day to allow the air to get to different areas of the bowl.
Step Six – Decorating
I used Watercolour paints to decorate my bowl, but you can use poster paints or anything you want. The Decoration is entirely up to you.
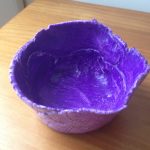
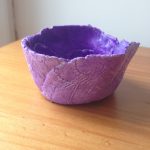
Then once my paint was dry I just used some children PVA glue to glaze it over the top.
There you have it. Your very own Air Dry Clay Bowl.
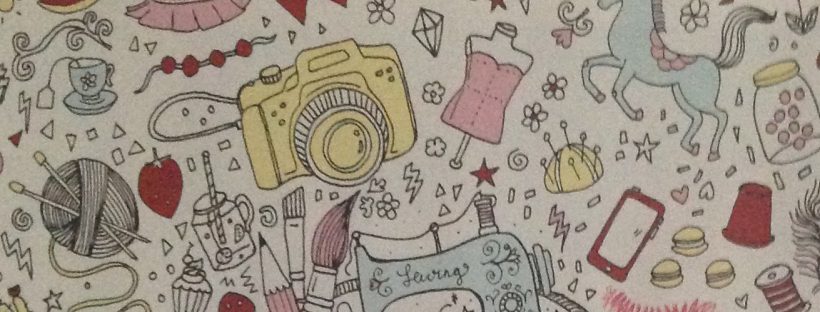
Inspiration?

Check out this Pinterest Board I’ve put together to give you some inspiration