Over the next twelve months we are going to start a crafting journey together and each month will cover a different theme.
To kick off the new year we are starting with Crochet Blankets, the perfect task to not only keep you occupied on dark nights but also keeps you warm while to make them.
I first learned to crochet when I was seventeen years old. My mother taught me a basic granny square pattern and then left me alone with a bag of bits of wool and I made my first granny square crochet blanket. I remember laying out the hundreds of squares on the floor and arranging them in a pattern before i sewed them together. It was the first time I hand crafted anything. And I donated this blanket to Oxfam. Since that first blanket I must have crochet at least thirty more blankets. Some still using the simple granny square technique, others in stripes or large squares, circles and zig zag stripes to name just a few. And of all the blankets I have made I have only kept one (because my boyfriend likes it) I don’t need to have lots of blankets in my house to keep me warm I make them because its relaxing.
Throughout this article I am going to explore some of the crochet techniques I have used in the past and show you some of my favourite crocheters Facebook or Instagram pages, and there are some fabulous people working out there to inspire you.
Before we get started if you are not familiar with crochet this is a great link to help teach yourself the basics.
Granny Squares
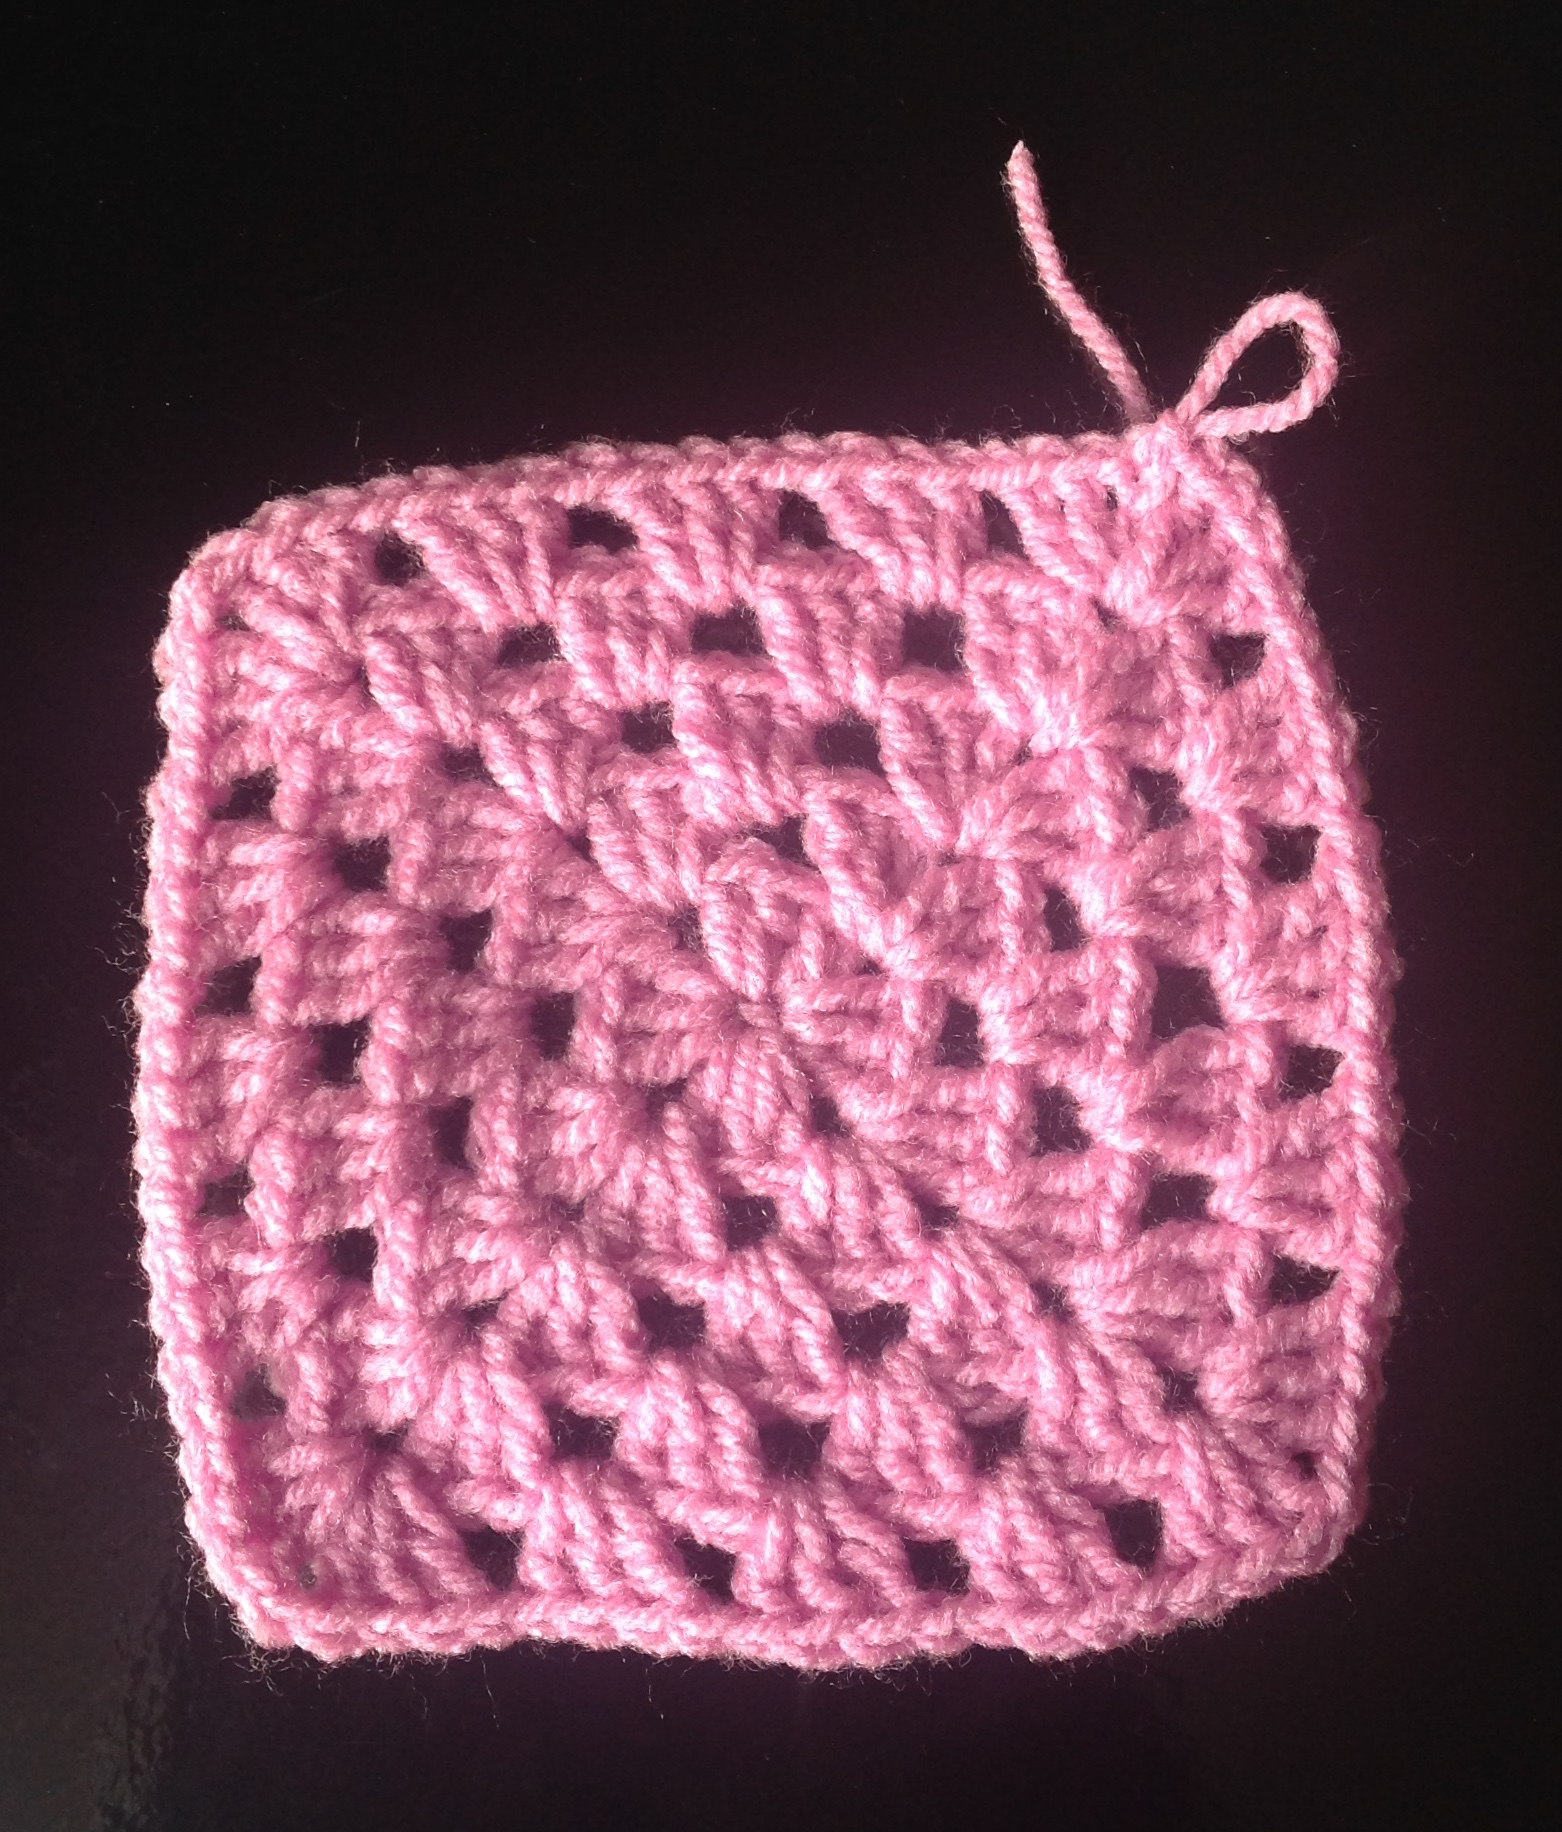
Granny Square
This is the pattern that most people will learn first, its worked in the round and contains a simple repetition of three trbl and a slst, (thats abbreviation of treble and slip stitch). The pattern can be worked in one colour or you can change colour as many times as you wish and the size of your granny square is totally up to you. For a gage though, if I was making a blanket from squares crochet in 5 rounds I would need at least a 12 x 12 blanket to make it a large size which is 124 squares.
The Blogger Little Tin Bird has a wonderful pattern on her Blog which not only can you use to teach yourself crochet, but she has created a wonderfully bright a sunny granny square blanket.
Once you have master the granny square you can do large granny squares or use different stitches to create different looks for your granny squares. One popular technique is to create block colour by using single trbl stitches, as seen in Attic 24‘s work.
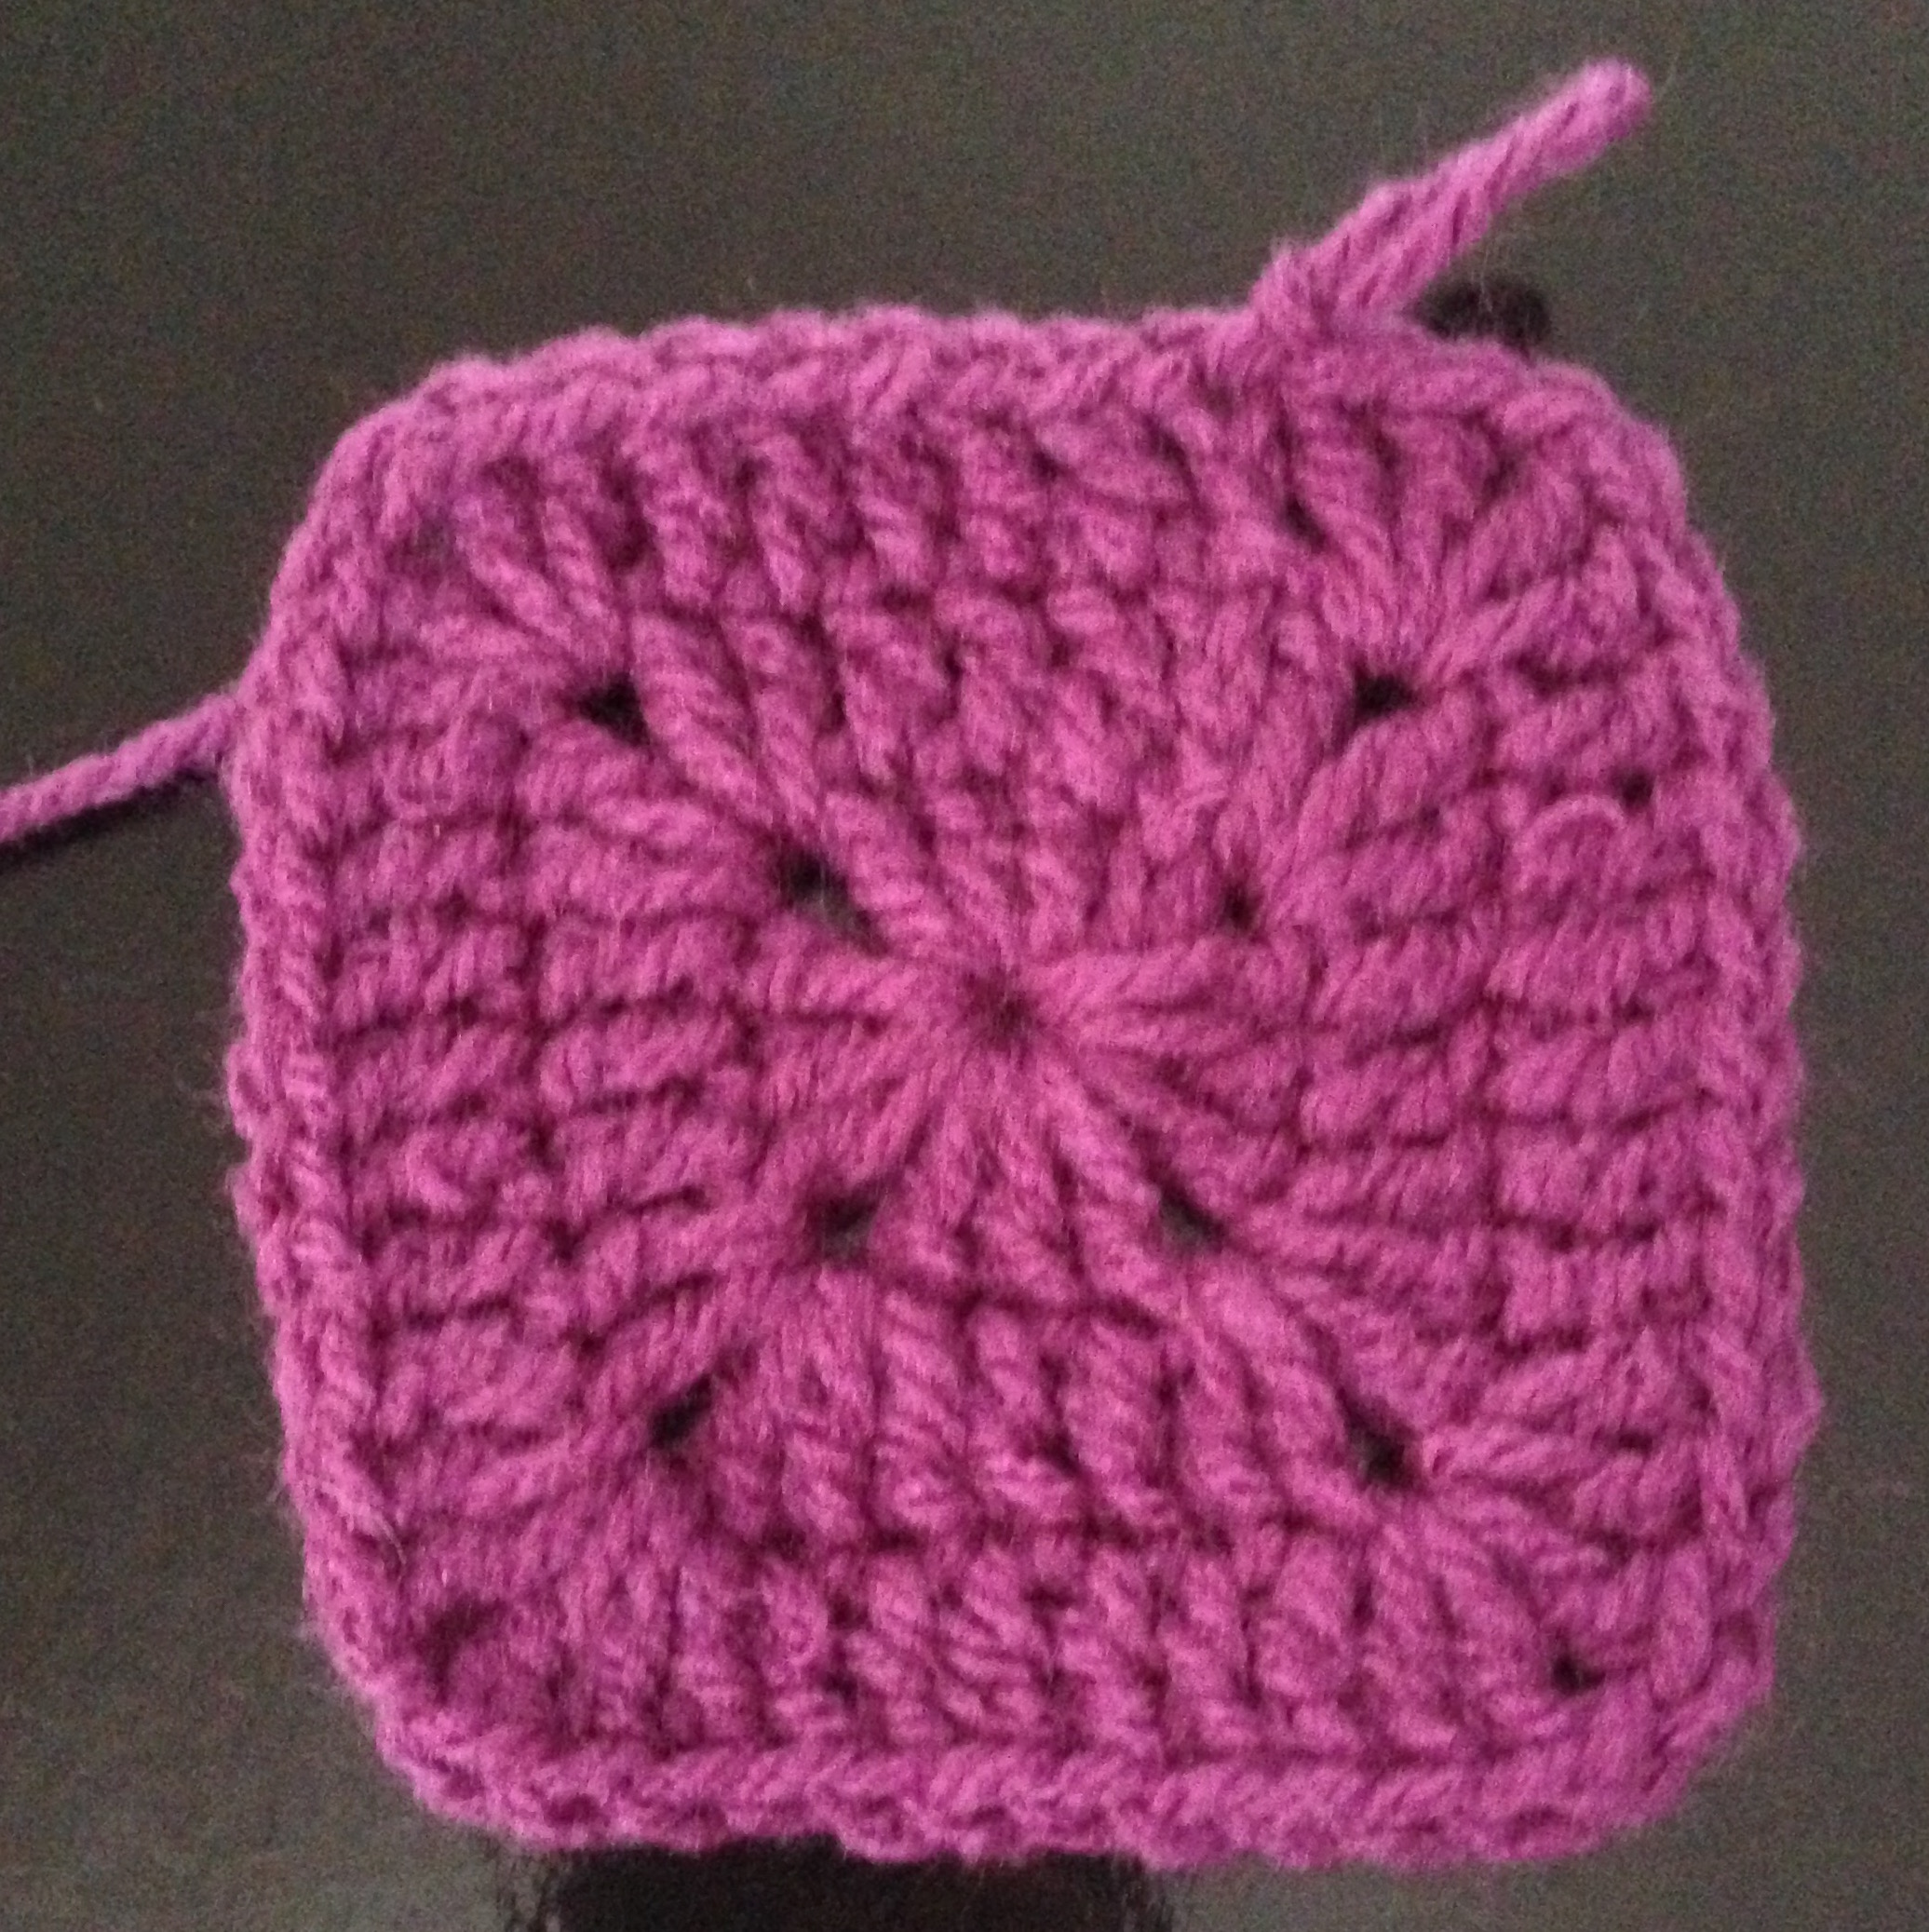
Single trbl granny square
Once you have made your square you can attach them to one another either by sewing them with a wool darning needle and using an invisible stitch or by crocheting them together with single crochet stitches. Either way works, its just about which look you prefer. The crochet method leaves a raised bump on one side of your blanket, this is the method I use for all my blankets and I think it adds to the charm.
Stripes

Straight stitch row blanket sample
Crochet in rows is even more simple than creating squares, once you know how to create a trbl stitch you can create this blanket. You start by creating many chains on your hook. For a gage if you were using a six 4mm hook and some basic double knit wool you might want to do anywhere between 150 and 200 ch. Each ch will become a stitch and bear in mind when deciding on how wide to create your blanket that the size become slightly wider as you work due to the tension you work with.
Once you have created your chains you then start working your trbl stitches into each of the ch, starting with the third ch from the hook, work along the row of stitches and when you get to your las stitch, make a little ch and turn your work.
Attic 24 has some inspired crochet ideas, and one project she has undertaken on her blog is to create a crochet-along blog, where she has made a striped blanked using the granny square technique in stripes. Her blog and Instagram account it a treasure of yummyness.
Zig Zag/Ripple

The cat wrapped up in a zig zag blanket
Once you have mastered making blankets in rows rather than squares you can have a look at zig zag patterns.
There are two different way to create a zig zag blanket, but bother are created with rows rather than squares. You can either create the blanket using the straight stitch or the granny stitch. There are patterns for both and both look equally effective.The fabulous The Stitching Mommy has a wonderful pattern on her blog for creating the straight stitch blanket, but if you want to make the granny version, then check out this brilliant and easy to follow you tube video from Bella Coco below.
[youtube https://www.youtube.com/watch?v=8k5evNaAjSE]
Crochet Blanket Inspiration
Some of my favourite places to go to gather inspiration for new projects is other crafters websites or their Instagram accounts. So here is a list and links to a few of my favourite;
- Lazy Daisy Jones : check out the fabulous Pic and Mix blanket.
- redagape_styleanddesign: Creator Mandy O’Sullivan has some wonderful creations.
- Poppyandbliss: Michelle Robinson delights with her Instagram account
- Crochetgirl99: One of my first crochet crushes on Instagram
- Attic 24: Not only does she make the most wonderful sunshine blankets but the wreaths are pieces of artwork.
- Mollie Makes: For more inspiration on what to do with those granny squares.
Enjoy making your blankets and share your designs with us on our Facebook page.