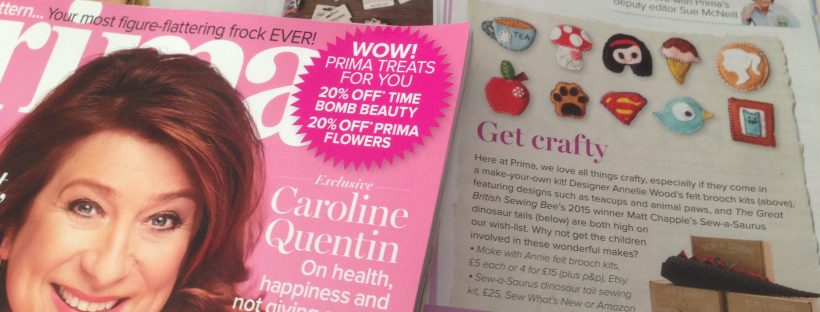
This week Make with Annie was featured in Prima Magazine. Prima Magazine is a national publication which has a readership of around 263,893 (this is taken from the sales for the first half of 2014). Which means that my product has now reached a quarter of a million people and that is more than I would ever reach through social media at this point in my business.

The Feature is seen on page 139 of the February 2016t issue
As you can imagine I am overjoyed with the feature and even after only a few days I have made four sales and gained hundreds of views, and new follows on my Etsy shop and Facebook page.
You may be wondering how I managed to get my products featured in such a well known magazine, and I am going to show you just how I did it.

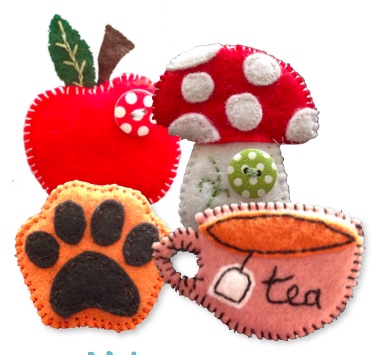
Make with Annie Felt Brooch Craft Kit
Back in September 2015 I started my craft business Make with Annie, creating felt brooch kits for young and old alike to make their own brooches and have fun too. I love crafting and I thought how great would a kit be for others to have a go at making felt brooches. Once I had created my kits, and worked on my packaging I set up my etsy shop and social media pages and then I sat down and created a press release.
It was the first time I had ever attempted such a thing, so I googled it and one of the key things I found on all the different sites was this;
- Who are you
- What are you doing
- Why should they be interested
- When are you doing it
- Where can they find more information
These are really basic but you can find lots more on the different sites which I will add at the end of the article.
Once you start thinking about the answers to these questions you are starting to build your press release.
I’m going to answer them on behalf of Buster the Cat, CEO of Meow (you may remember him from an earlier post on his business logo), to show you what kind of information you want to think about putting in.
- Who: Meow! is a new small craft business making handmade bow ties for cats and dogs
- What are you doing: We are designing and creating bespoke bow ties for the animals in your life
- Why should they be interested: Not only do the bowties make your animal look stylish and cool they are also functioning as a collar for you to add their ID tags
- When are you doing it: Meow! is launching its online store on Saturday 9th January 2016 at 9am
- Where can they find more information: Links to the website, etsy store, Facebook page, instagram, twitter etc…….
Now you have your outline its time to start making it stand out.
You want to make sure that your press release matches your business and your products, so if your making and selling handbags, make sure that the theme reflects this. If you google Press Release, you will see lots of images of wordy documents, and that is fine. This is what is expected of a press release and if thats your style then go for it. But don’t be afraid to make your press release stand out, be colourful and bright, add lots of pictures of your products and designs and it can be more than one page if you want it to be.
Here is a sample of the press release for Make with Annie and for Meow!;
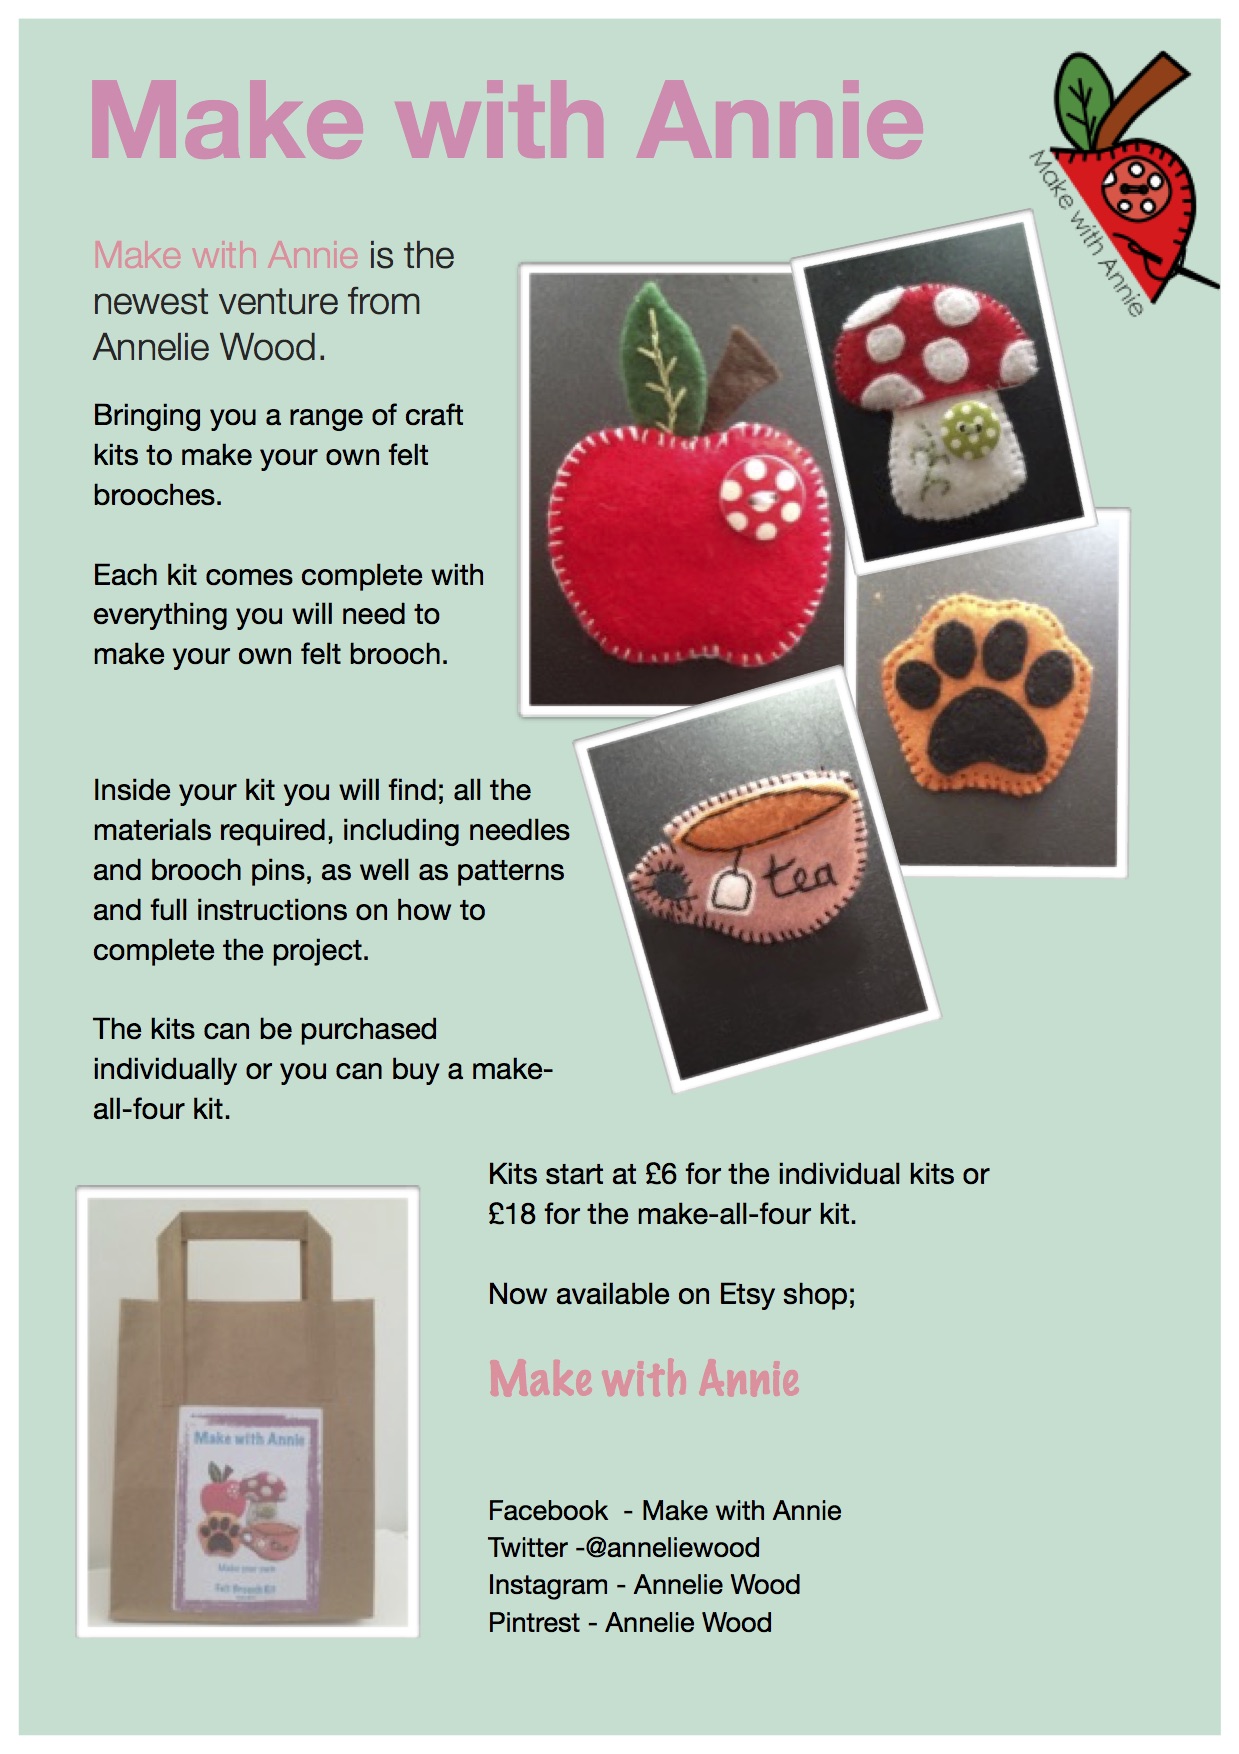
Make with Annie Press Release
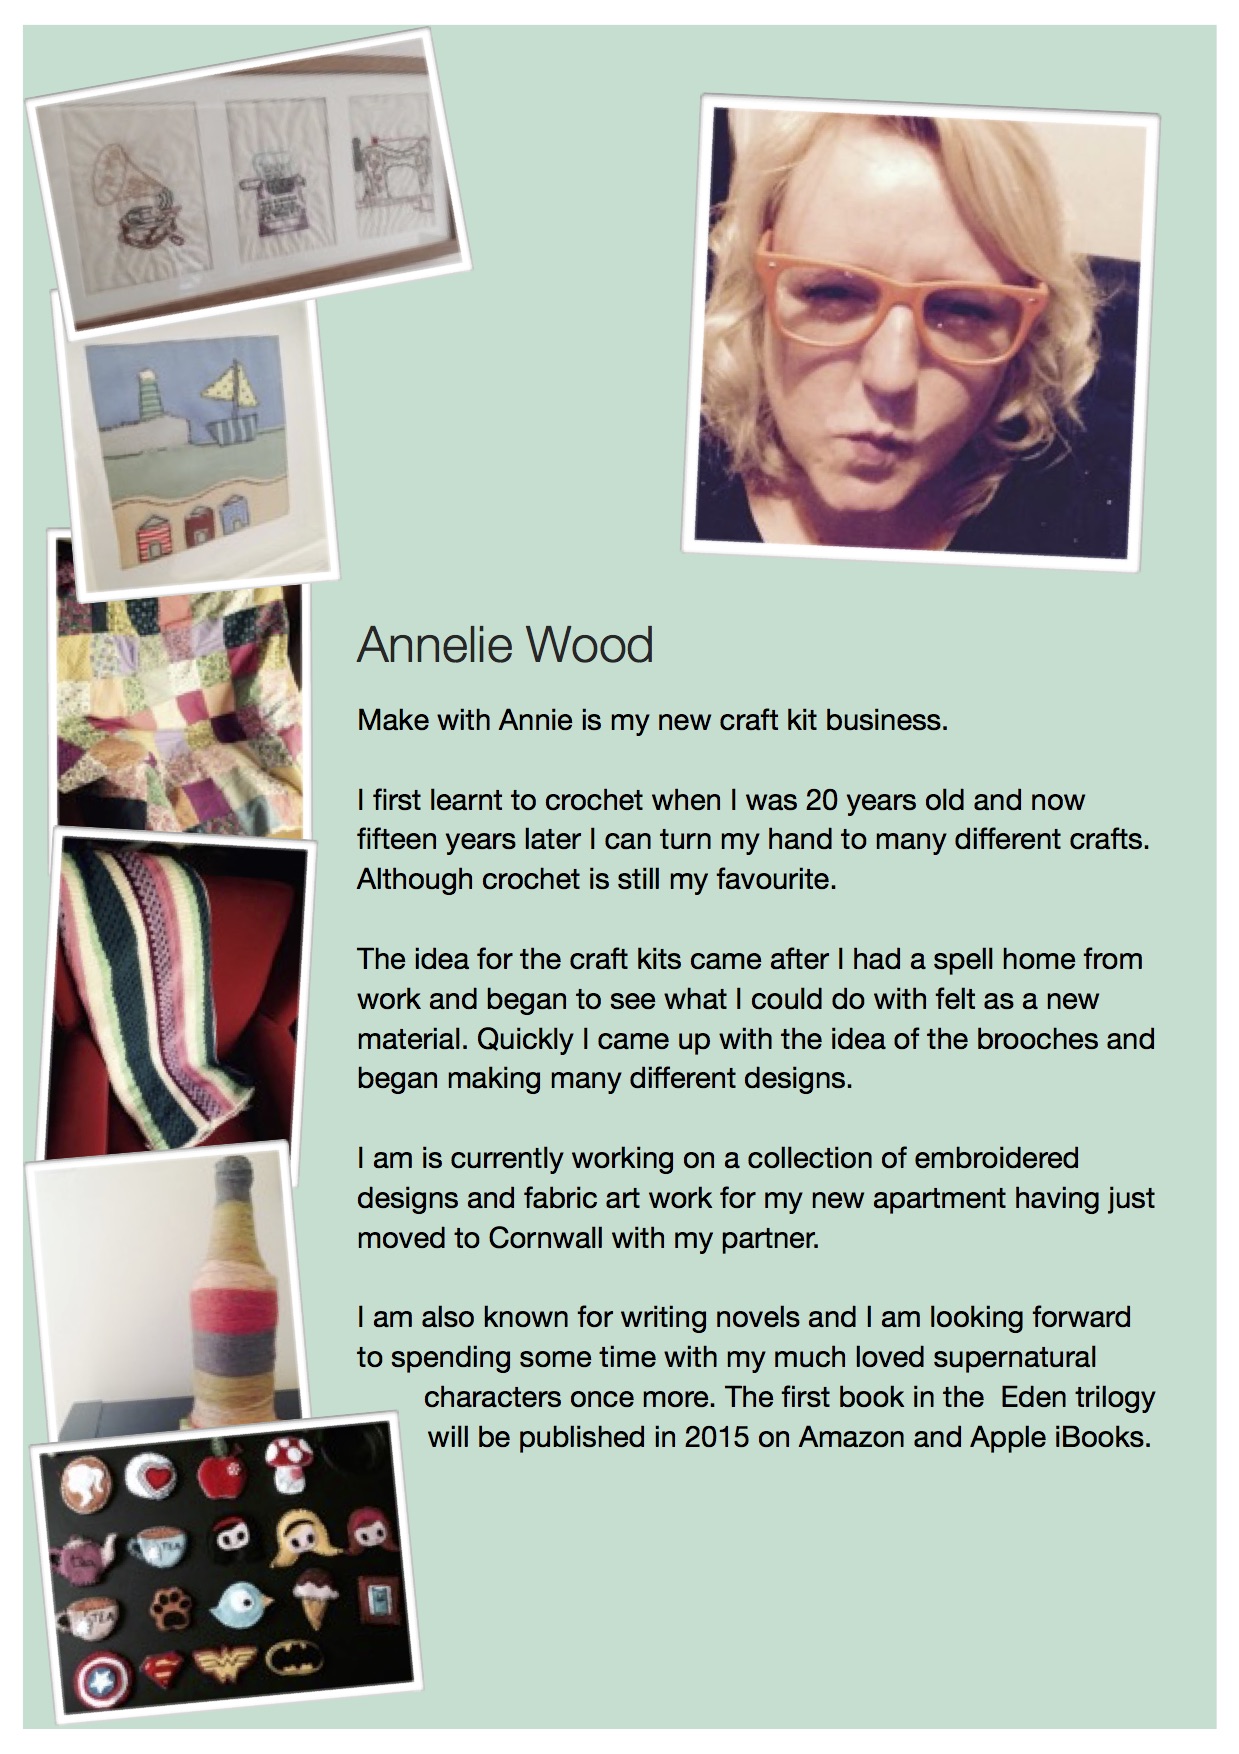
Make with Annie Press Release P2
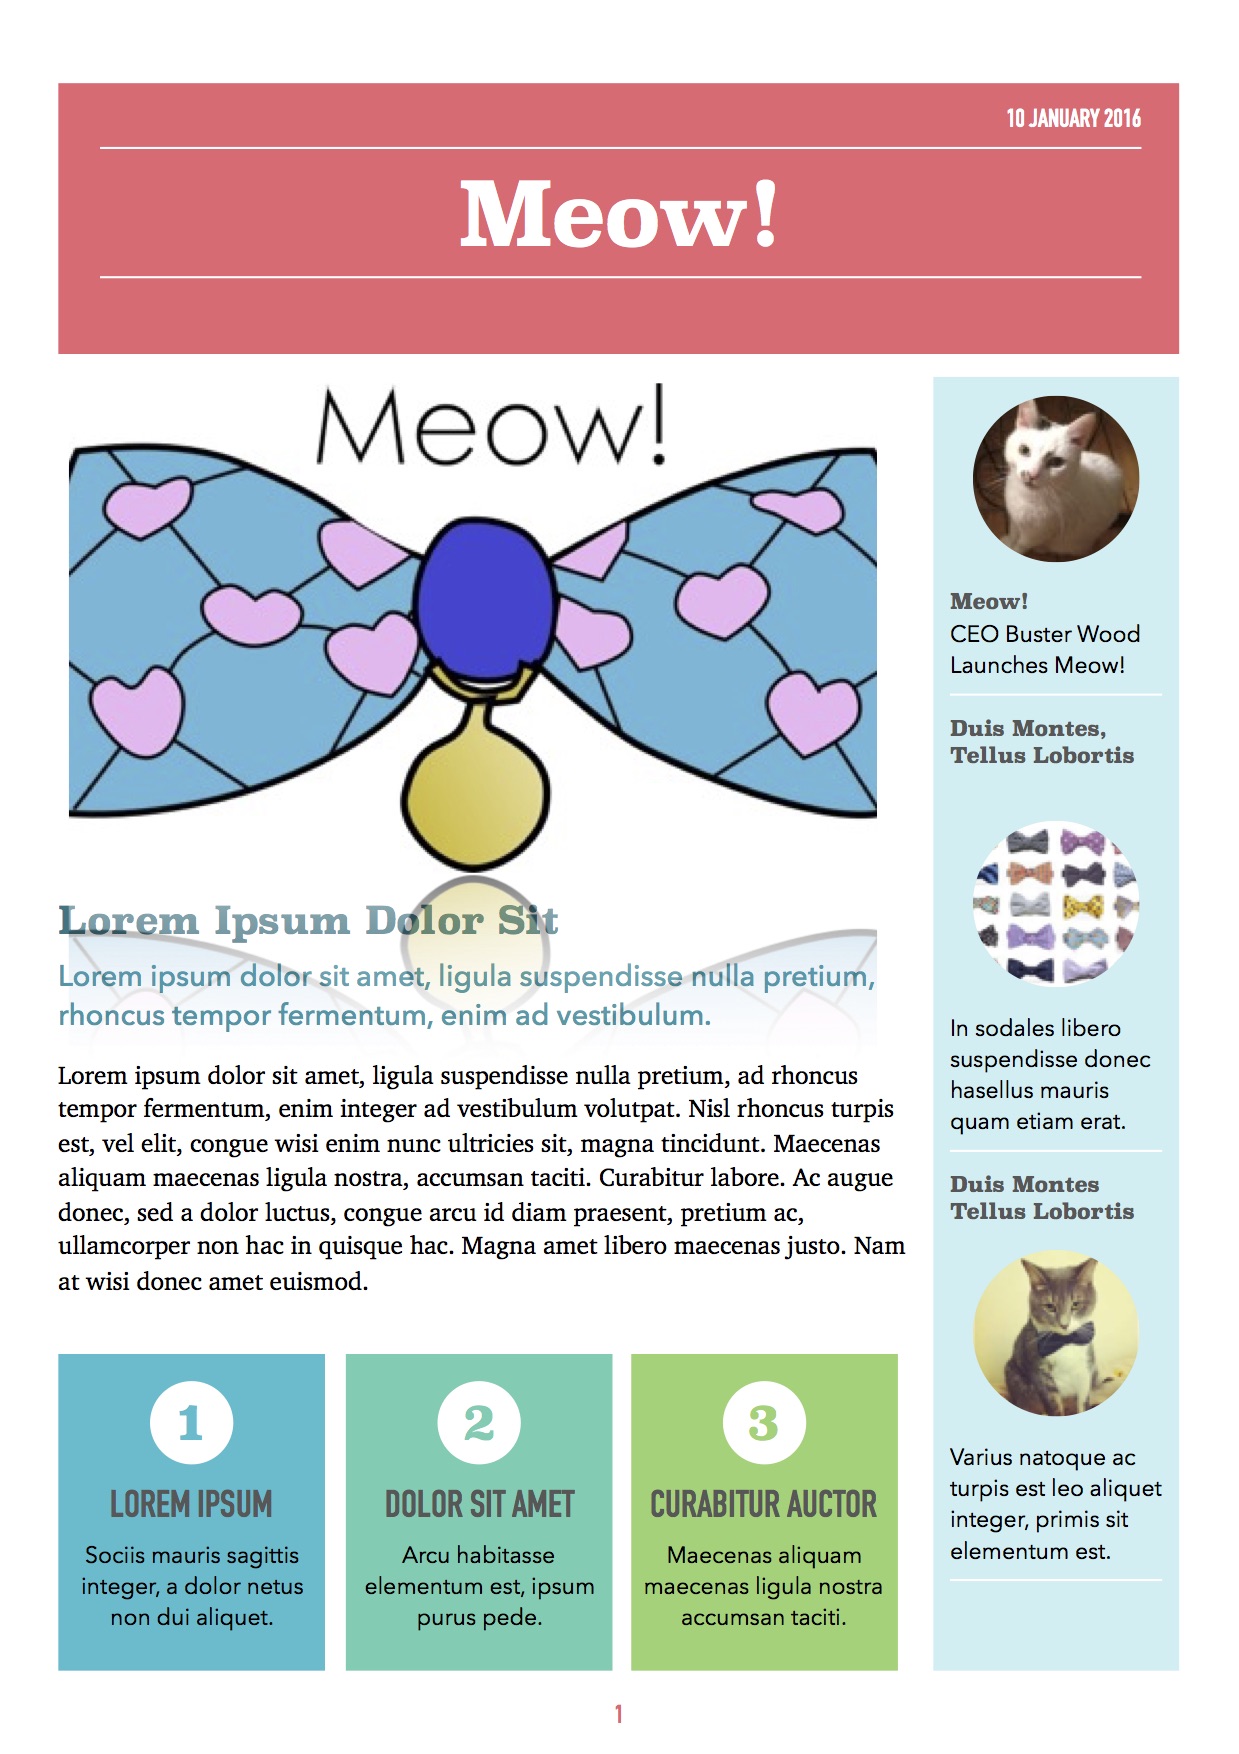
Meow! Sample Press Release
You can see that I have added extra pictures of craft products I make as well as a picture of myself from my Etsy store and my business logo. I have tried to ensure that I caught the eye of the person opening the attachment.
Buster has created an informative but yet fun looking press release for Mewo! in the style of a newsletter.
Play around with your press release but make sure that it shows the reader who you are as a business.
Once you have your press release and your pleased with it, you need to find as many different publications as you can to send it to. Make sure that the publications are relevant, for example if you make bow ties for cats and dogs you would do well to send it to animal lover magazines, but perhaps not to tool buying magazines. You do need to send it to a lot of different people, I sent mine out to over fifty different publications, bloggers and writers and so far have only been featured in Prima Magazine, because your product might not be what they are looking for, or they might miss your email believing it to be spam, but you just never know what might come from it.
Give it a go! But one thing to remember is that if you do get a little success to ensure that you make the most of it. Since the feature has been published I have thanked the magazine publicly through my Instagram, Facebook and twitter account, I have shared my own posts on social media and tried to use the momentum to carry the feature through to my etsy shop and convert it into a sale. It takes some time to market your product, but if you want to make your business and products a success then you have to put that time in, as nothing happens all by itself
Links to useful resources: